Overview
- Materials
- Measure Volume
- Prep
- Pour Resin
- Demold and Asses
Resin casting is pretty simple and you can produce many copies of your figure. You will need a silicone mold of the object you want to cast in resin. I have written a tutorial about mold-making that you can read here:
Tutorial: Making a Two-Part Mold
If you have any questions after reading through the tutorial, feel free to contact me:
Email: hello@mjhsu.com
Instagram: @mjhsu
Twitter: @mjhsu_art
1. Materials
- Silicone mold of your figure
- Smooth-On resin
- Graduated beaker
- Aluminum foil
- Popsicle sticks
- Disposable cups
- Newspaper
- Disposable gloves
- Rubber bands
I have listed some of these materials in my Amazon AStore if you need to purchase of of the supplies.
Details about materials:
Silicone Mold of Your Figure
You can’t make a resin cast without a mold! I am using the mold of my two-headed Aquacorn figure from my previous tutorial: Making a Two-Part Mold
Smooth-On Resin
Smooth-On offers a large variety of resin. Pick the one that is right for your project. I used Smooth-Cast 65D. This resin stays just slightly soft which is good for a toy – it won’t shatter if you drop it. Just a warning: if you are casting in clear resin, you will probably need a pressure chamber. Using clear resin without a pressure pot results in lots of obvious bubbles inside your cast.
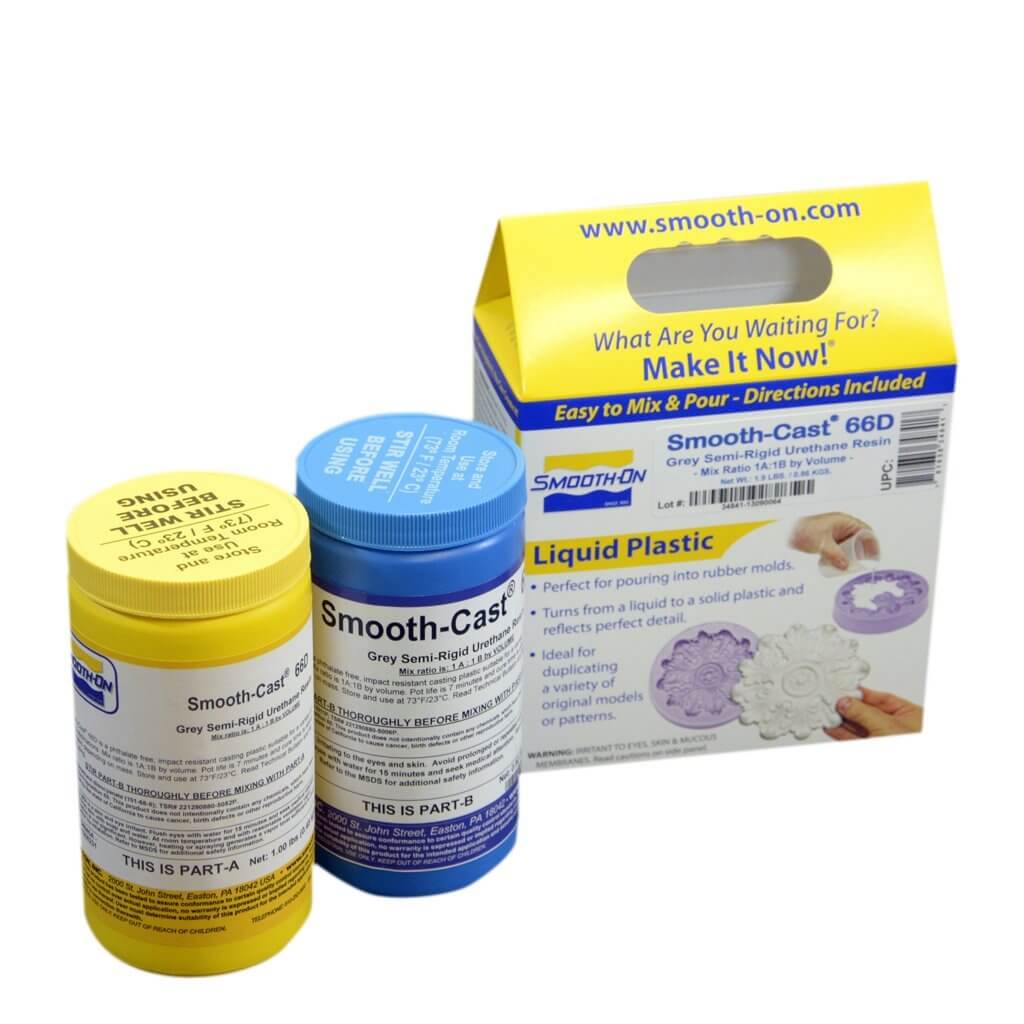
Be aware that Smooth On resin has a shelf life of about 6 months after opening the bottle. But you probably won’t have trouble using it all because resin casting can get addicting!
Graduated beaker
You will use a graduated beaker to measure the volume of your figure. I bought a whole set of these plastic beakers on Amazon for $5. There are ways to determine the volume of a figure without a beaker, but they take a little more work. For $5 you can save yourself some time and effort.
Disposable gloves
Don’t let the resin touch your hands! It won’t kill you, but there will be an reaction that isn’t pleasant. I cast bare-handed once and touched the resin. The skin that came in contact with the resin turned really dry – like I let glue dry on my hand. And it was REALLY hard to get off – I had to scrub really hard and probably rubbed some of my skin off. Again, check out the gloves I have in my Amazon Store for recommendations.
2. Measure Volume
You don’t absolutely HAVE to know the volume of your figure in order to produce a good casting. It is definitely possible to just mix a random amount of resin to pour in your mold. However, you may end up wasting resin if you mixed too much, and resin ain’t cheap!
I hate wasting material, so I will show you how to get a good measure of volume. There are two ways to do this:
Method 1:
- Fill your beaker with water – enough to cover your figure but not all the way to the top. Make note of the volume – we shall call this Volume 1.
- Drop your figure in the water. Try not to splash any water out.
- Make note of the new total volume – this is Volume 2.
- Calculate the volume of your figure:
- Volume 2 – Volume 1 = Volume of your figure
- You may need to add a few more mL to your volume in order to account for any sprues (air vents) that are in your mold.
Method 2:
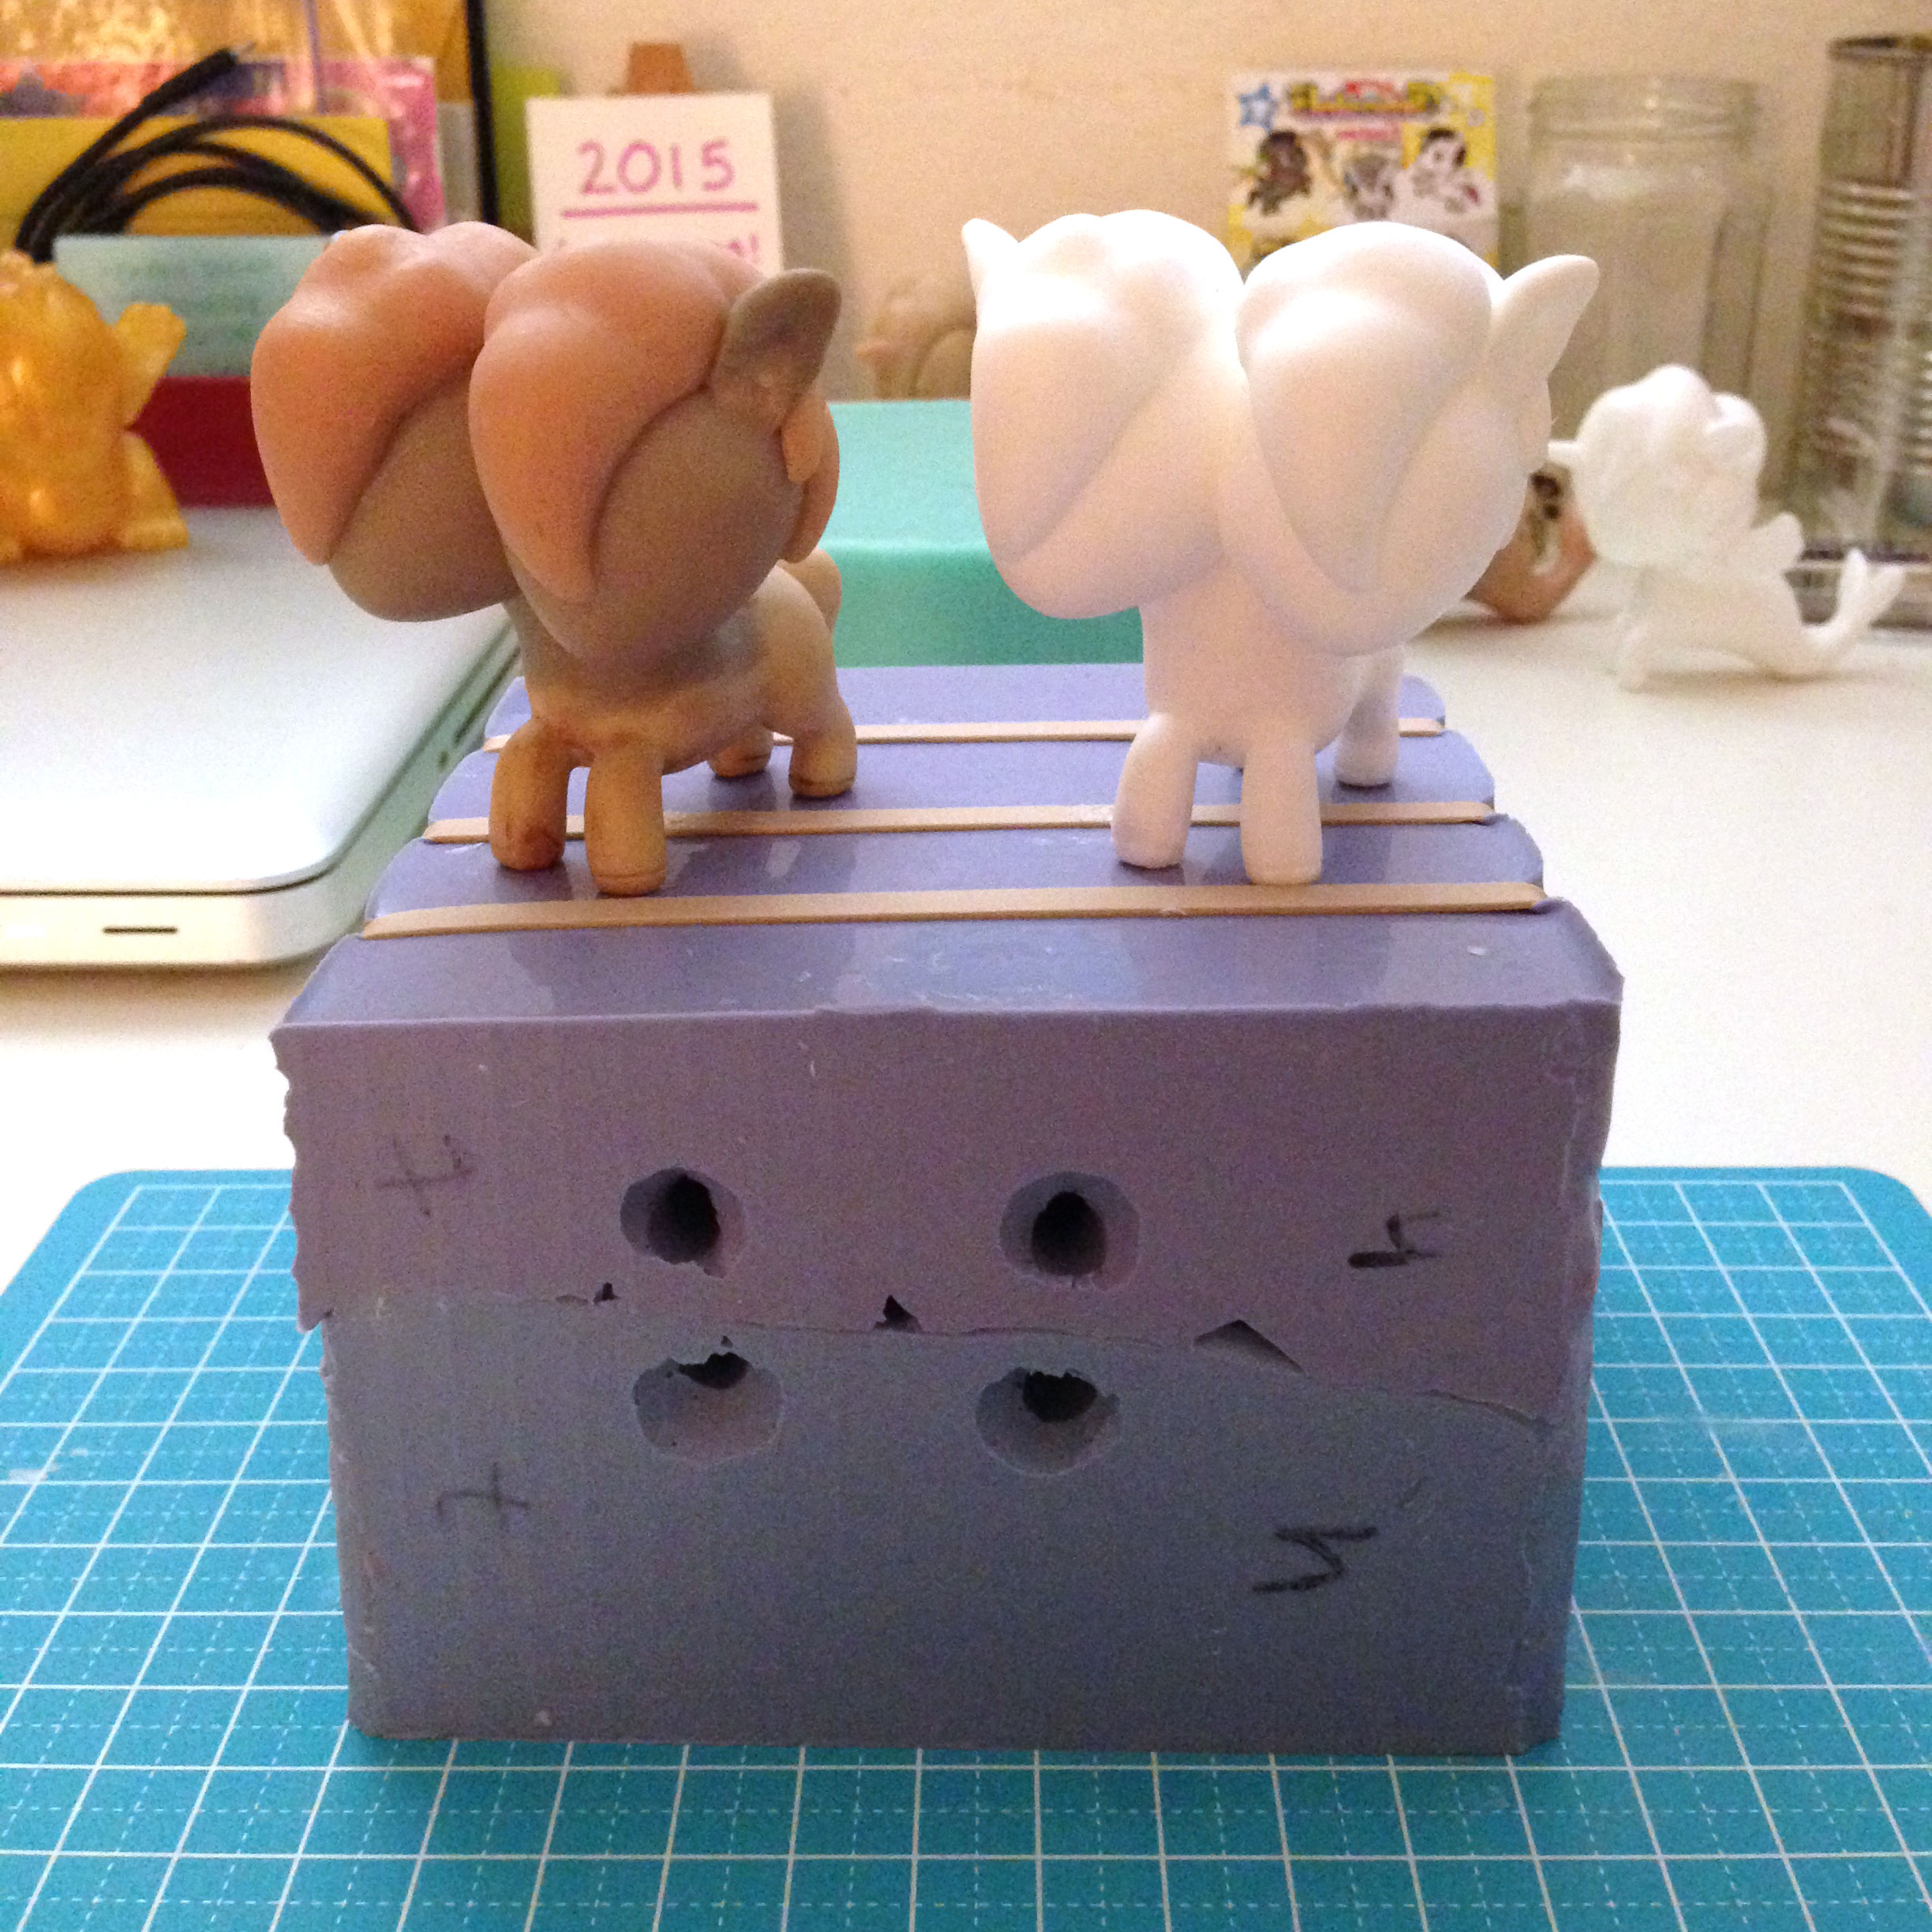
- Take your mold and hold it together with rubber bands.
- Fill your graduated beaker with water. Make note of the volume (Volume 1).
- Fill your mold with water. Do this slowly so you don’t overflow and have to start over. You may have to use a funnel (you can make one out of aluminum foil). Make note of the decreased volume in the beaker (Volume 2)
- Volume 1 – Volume 2 = Volume of your figure.
- No need to account for sprues.
Method 2 may result in a slightly greater volume than Method 1, but if your figure is small it won’t make a moticeable difference.
3: Prep
You will need to make a few easy preparations before pouring resin.
First, lay out a couple layers of newspaper to contain any spills. Just one layer won’t do because any spilled raw material can seep through and damage your surface.
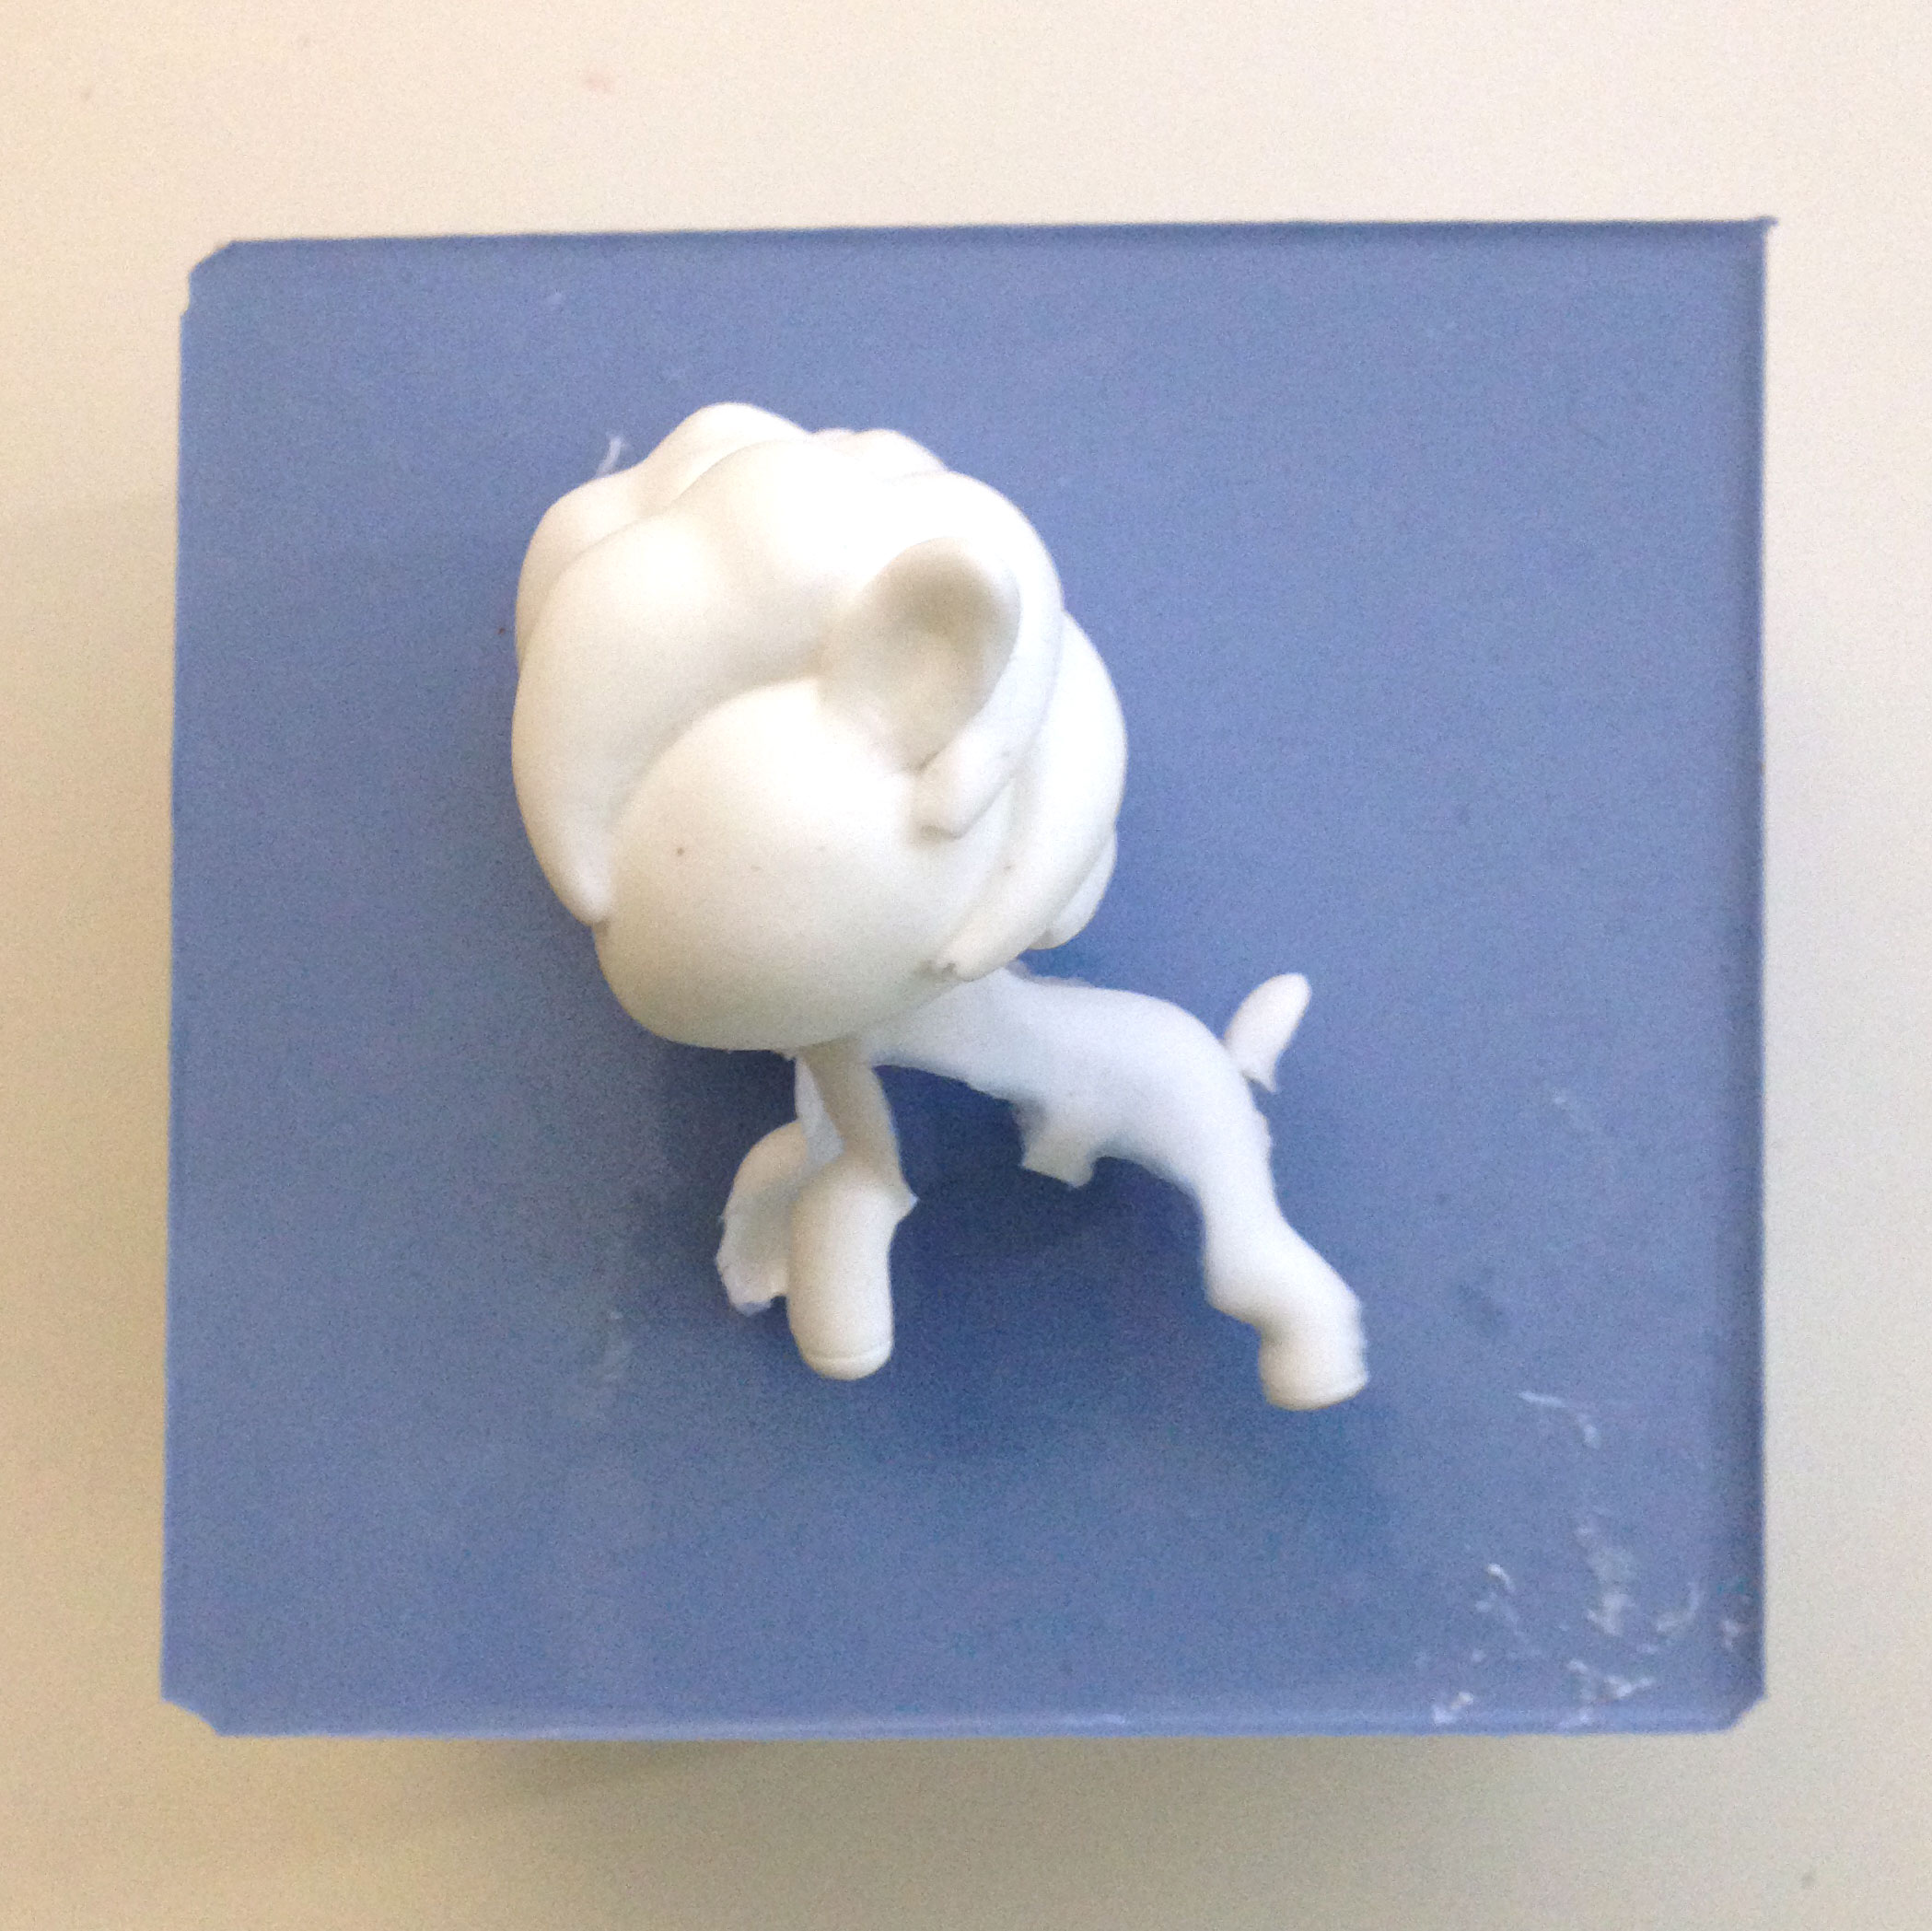
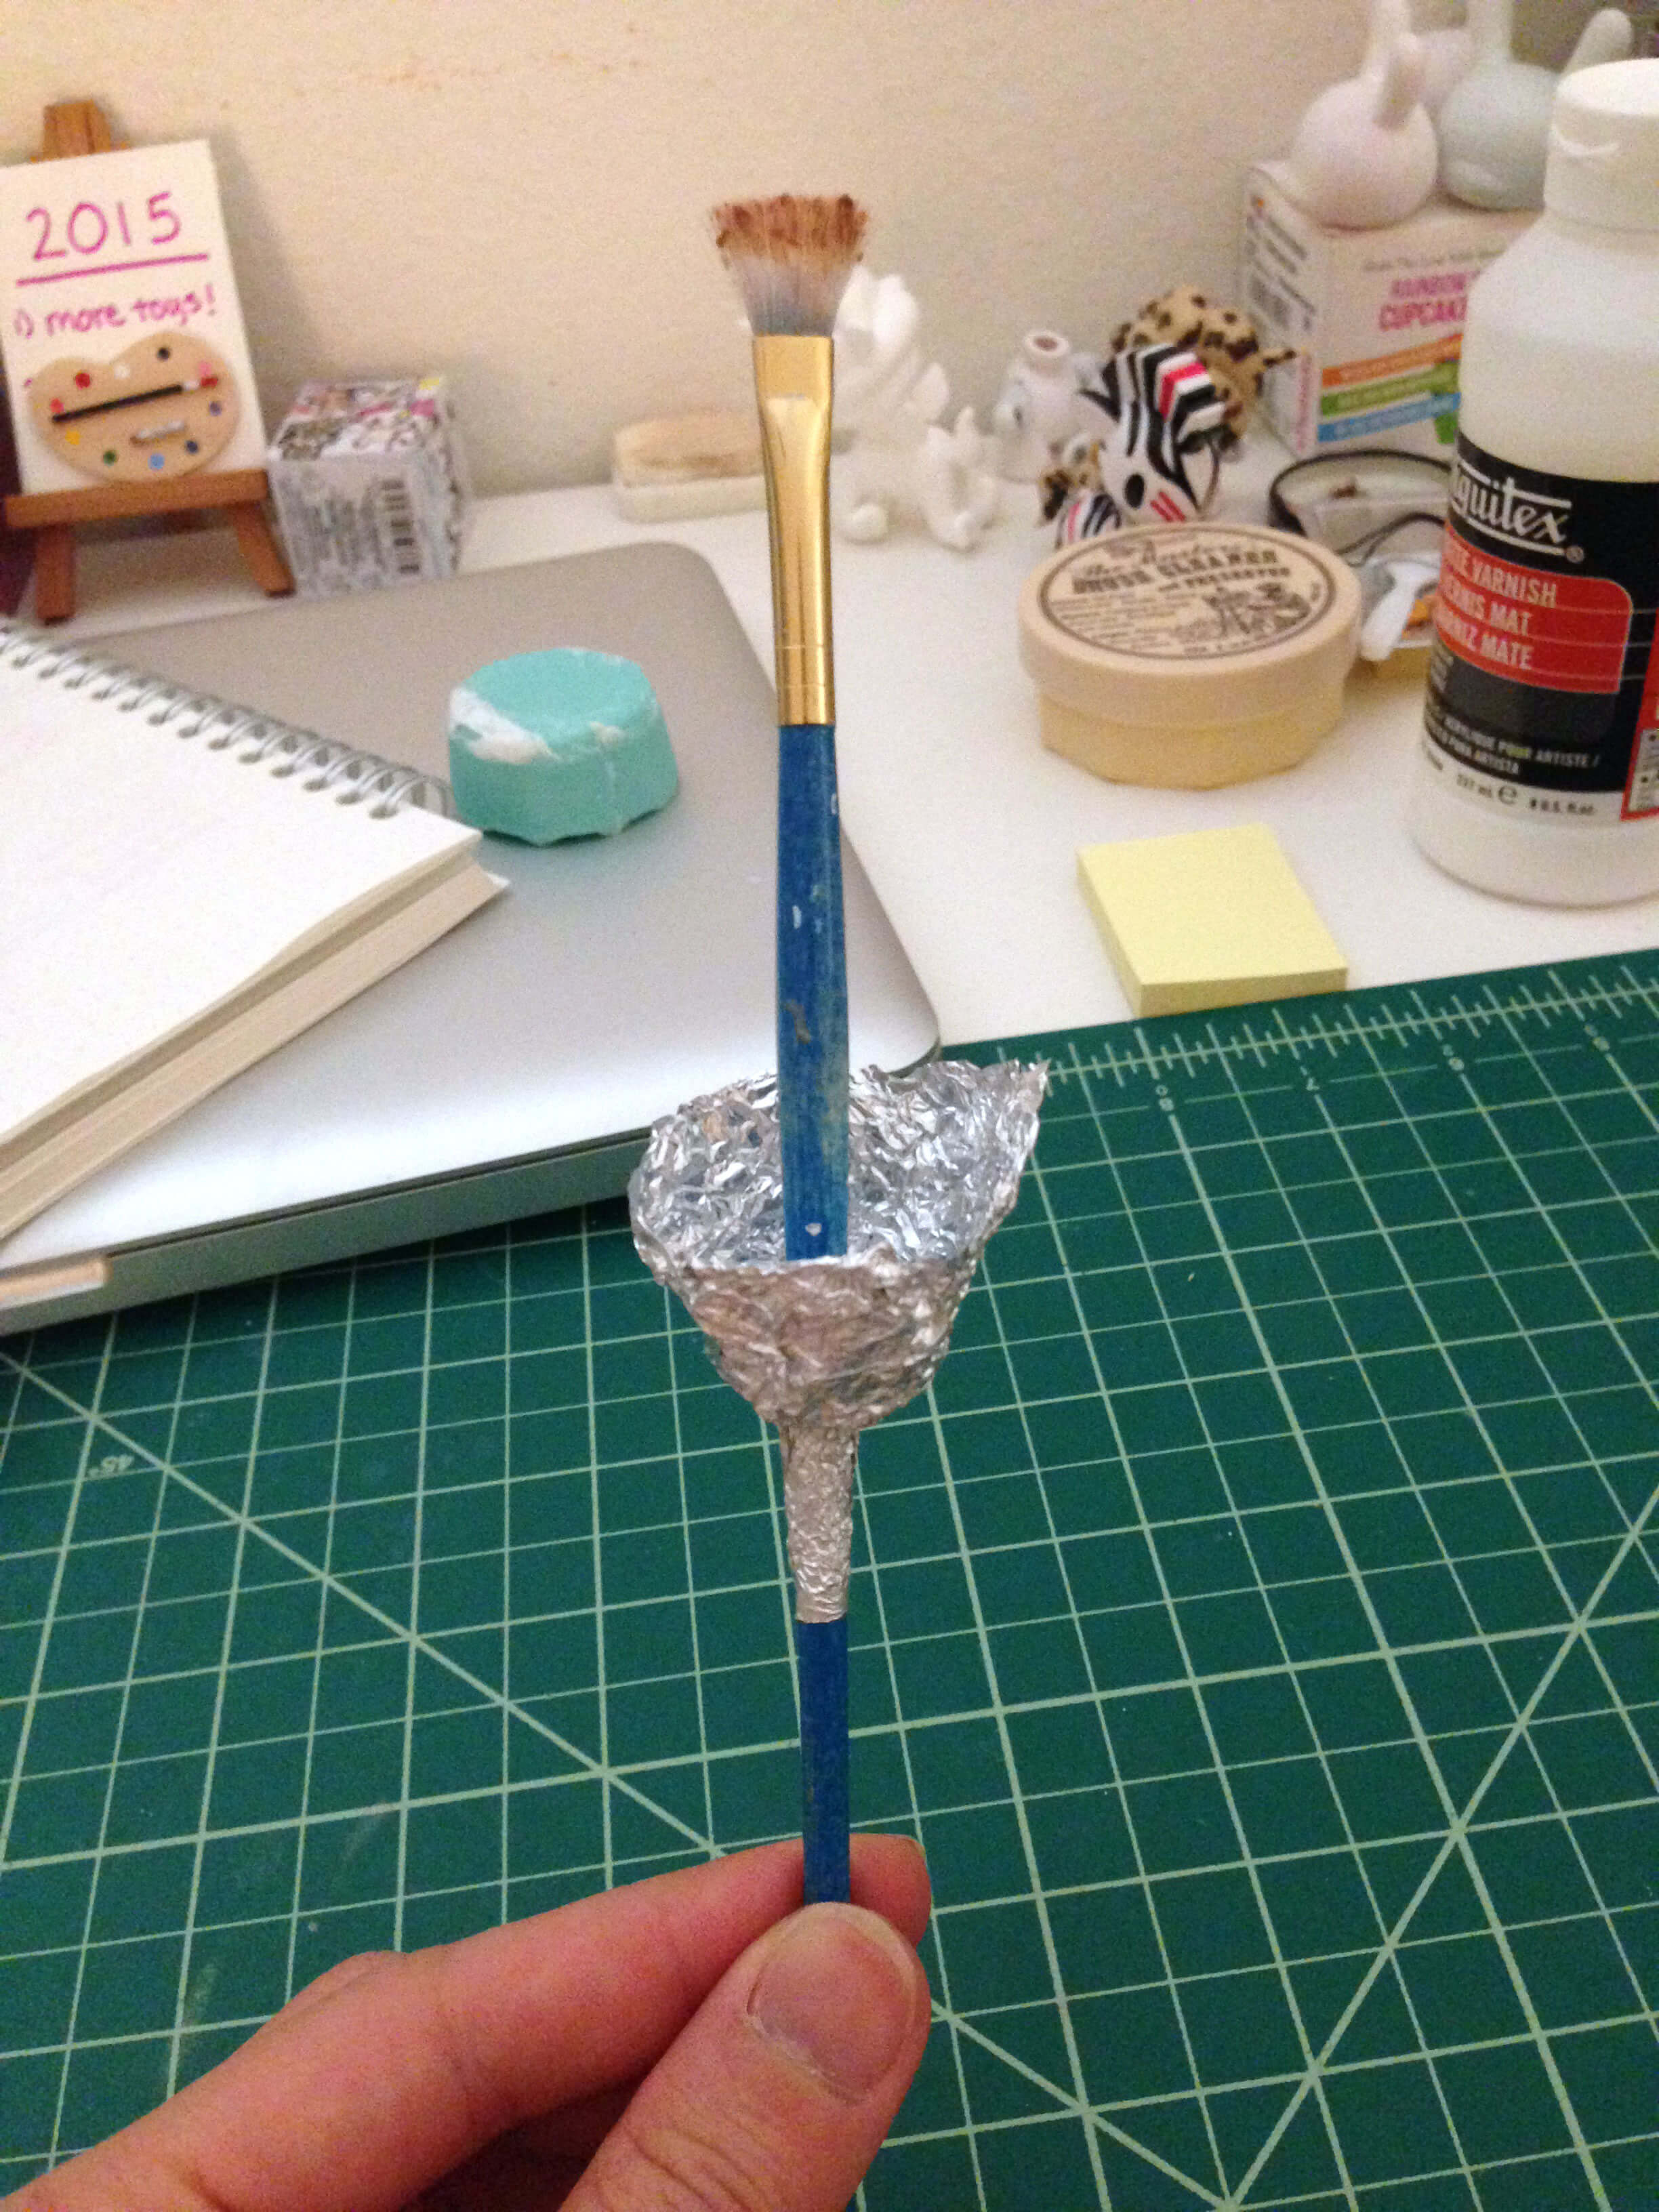
Next, make little funnels out of aluminum foil. Don’t try pouring resin in your mold without these – not only is it harder to pour inside a tiny hole, you will end up clogging your sprues and will get massive bubbles in your cast. I made this mistake the first time I tried casting, and here was my result:
Foil funnels make pouring SO much easier. And if they don’t clog up after the resin hardens, you can reuse them. I make a bunch of them at once so I don’t have to do it before every pour. I take a piece of aluminum foil and wrap it around an old paint brush to make the funnel.
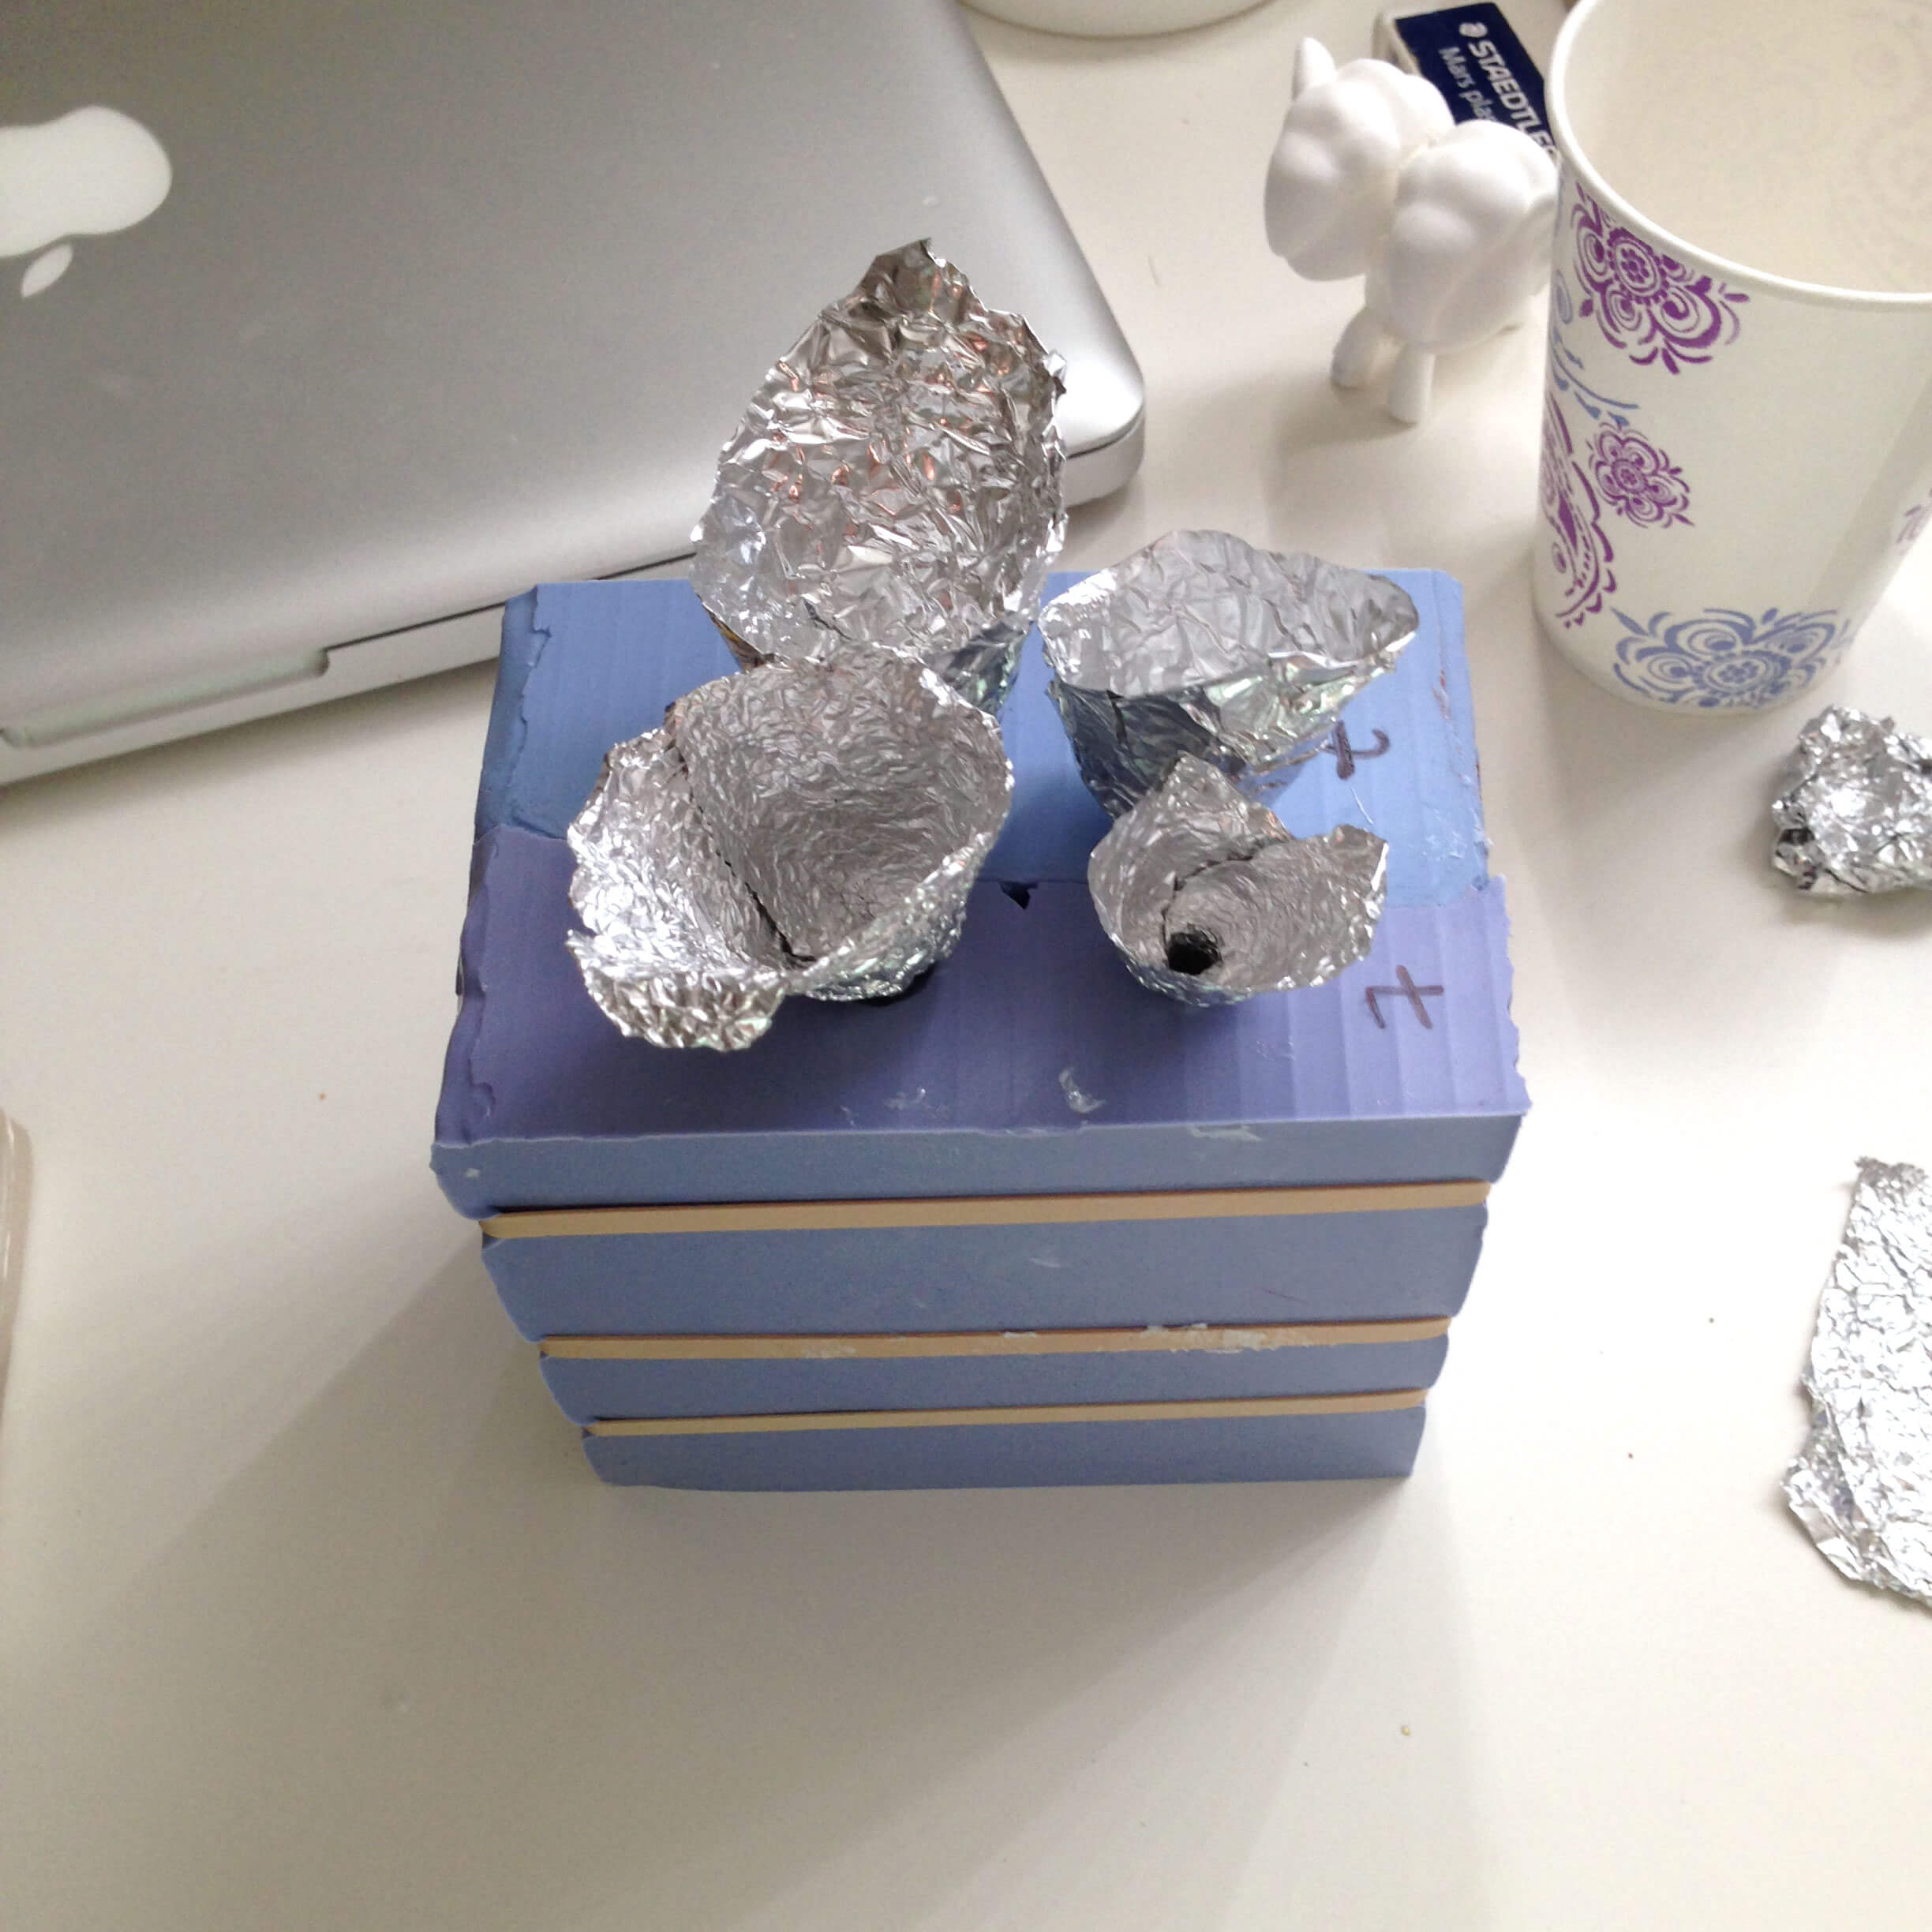
Place the funnels in your pour hole(s), but NOT in your sprues/air vents. You need to have some passageways clear for air to escape. In the photo below I placed funnels in the four larger channels of my mold. During the actual pouring I took one of those funnels out to make another air vent.
4: Pour Resin
You’re ready to cast!
Place some rubber bands around your mold to hold it together.
Remember the volume of your figure got got in Step 2? Mark HALF of that volume on two disposable cups. The Smooth Cast resin works very similar to Smooth On silicone – you need to mix two equal volumes of Part A and Part B for the chemical reaction to occur. The resin I am using, Smooth Cast 65D, has a pot life of 3 minutes. This means that I have 3 minutes after combining Parts A and B before the mixture starts to harden. Your pot life may be different if you purchased another type of resin.
*Note: temperature will affect your pot life. If you are pouring in a room-temperature environment, the pot life will be what it says on the package. If your room is hot, it will shorten the pot life. If your room is cold, it may lengthen the pot life.
When you are ready to cast, pour Part A of your resin mix into one of your disposable cups, and part B into the other. Mix the two together and stir quickly for a few seconds, then pour the mixture into one of the funnels. If that funnel gets filled up, start pouring in another funnel. Just don’t go too quickly or else all the holes will get blocked up.
In an ideal mold, you should be able to get a perfect cast from just pouring. This is actually the first mold that I made, and it was far from perfect. I’ll let you in on a secret – I cheated during casting and swirled the resin around in my mold halfway through pouring to make sure it got into all the crevices. Heehee!
Once you are done pouring, remove the funnel(s) and wait!
You’ll know that the resin has started curing if the mixture turns from applejuice to opaque white. This transition from liquid to thick goo happens VERY quickly (within seconds), but it will take a few more minutes to completely harden. You will also notice the resin getting warm. This is part of the chemical reaction that causes it to cure. Yay science!
5. Demold and Assess
Now for the moment of truth!
Once the cure time has passed (per the instructions on your package), you can take the rubber bands off your mold and remove your figure. It’s okay if your casting is still slightly soft. Sometimes it actually makes it easier to remove from the mold. Resin that has filled the pour holes and sprues may break off so make sure you get all those out too.
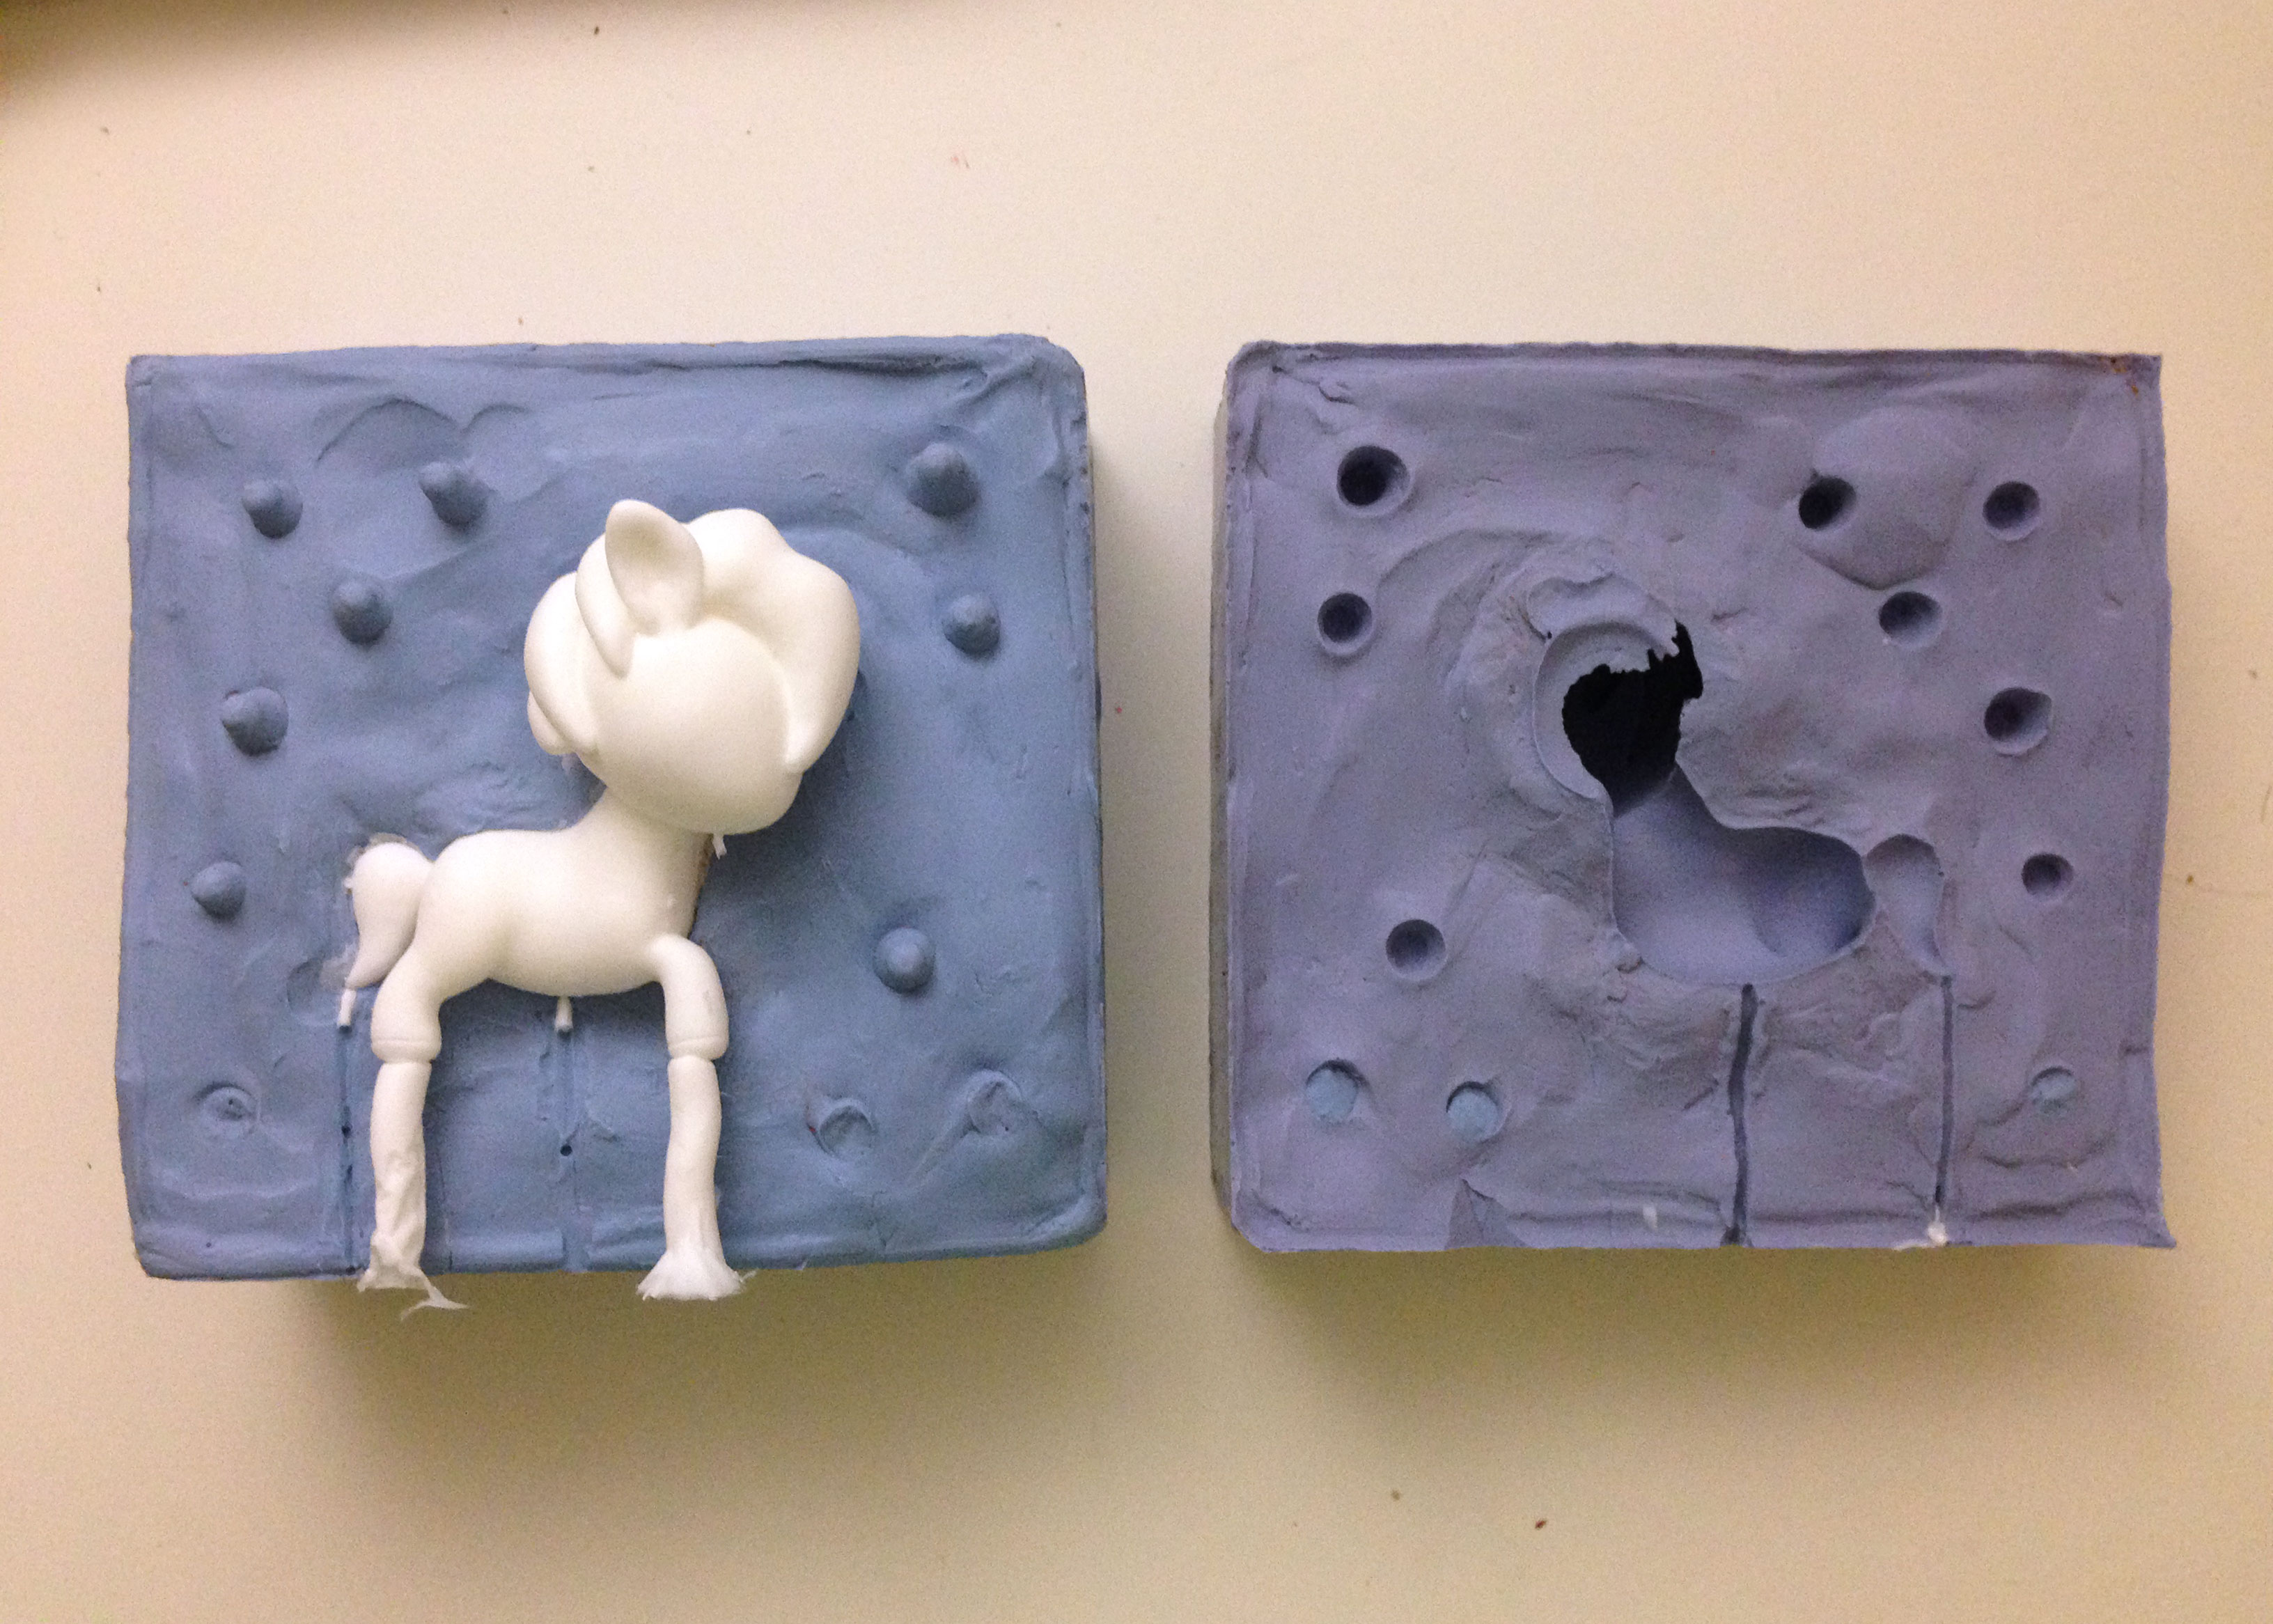

Now you will see how well you did. Use a knife to cut off any excess resin. Any seams or rough edges can be sanded down. The real problem is air bubbles. If you have little holes in your resin cast, it means that air got trapped in your mold when you poured resin. You can fix this in future casts by cutting an air vent in the mold so any trapped bubbles can escape.
To fix up the current resin figure, you can fill up any holes with clay. I used Sculpey clay and baked the resin figure in the oven. Resin can withstand some heat, and it is okay to bake with Sculpey clay. This means that you can use Sculpey to further modify your casts if you want. Add horns, hair, or wings! You can also use air-dry clay or epoxy clay as a quick fix for air bubbles. I have also seen people fill in holes with baking powder, then add a drop of krazy glue to solidify it.
Your resin figure is now ready to be primed and painted!