Overview
- Materials
- Prep and Plan
- Make Mold Box
- Plant Figure
- Pour Silicone
- Cut and Demold
This is a second mold making tutorial to follow up on my Two-Part Mold Tutorial. I actually stumbled upon making a one-part mold because I messed up on a two-part mold: I forgot to spray Mold Release on the first half of my mold before pouring the second half. To my dismay, instead of getting two clean halves, I got a solid block of silicone with my sculpture stuck inside! Whether you intend to make a cut mold or if you screwed up like me, this tutorial will guide you through making a one-part mold. The process is actually easier than making a two-part mold, so if you got through my first tutorial, then you can definitely do this!
If you haven’t already, please read over my Two-Part Mold Tutorial. I have described the materials with more detail there, and will also reference it throughout this tutorial.
If you have any questions after reading through the tutorial, feel free to contact me:
Email: hello@mjhsu.com
Instagram: @mjhsu
Twitter: @mjhsu_art
1. Materials
- Your sculpture or figure
- Smooth-On Silicone
- Disposable Paper Cups
- Disposable sticks
- Cardboard or other rigid material
- Glue Gun
- Mold Release
- Sulfur-Free Clay
- Latex-Free gloves
- Newspaper box (to contain your mess)
Details about materials:
Please see my material descriptions in the Two-Part Mold Tutorial.
2. Prep and Plan
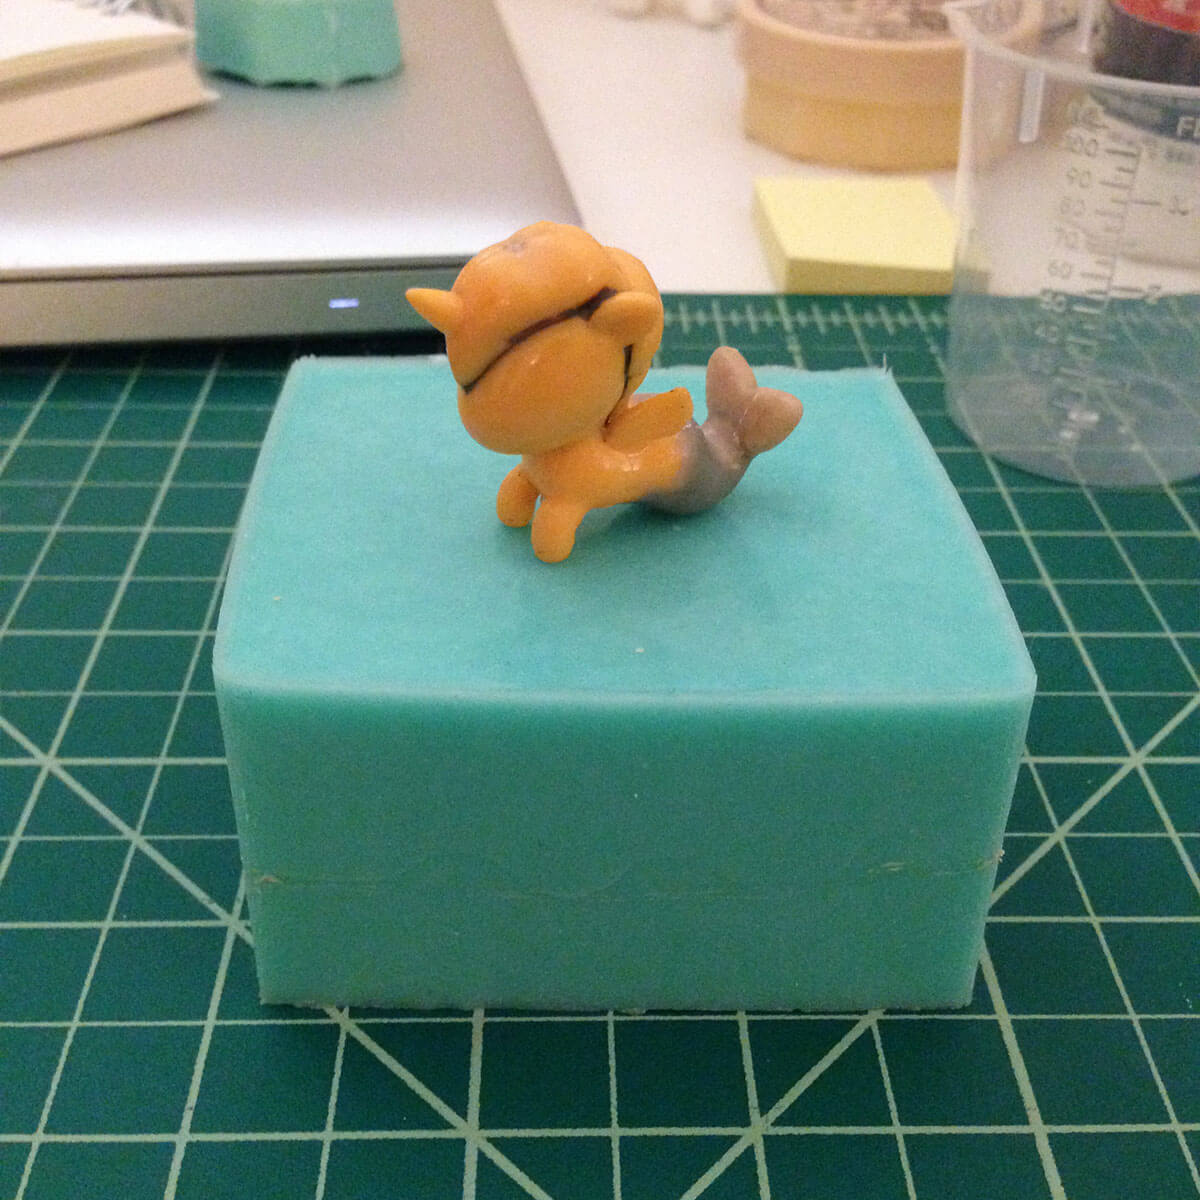
Grab your sculpture and get ready to make a mold! I used my baby Aquacorn figure.
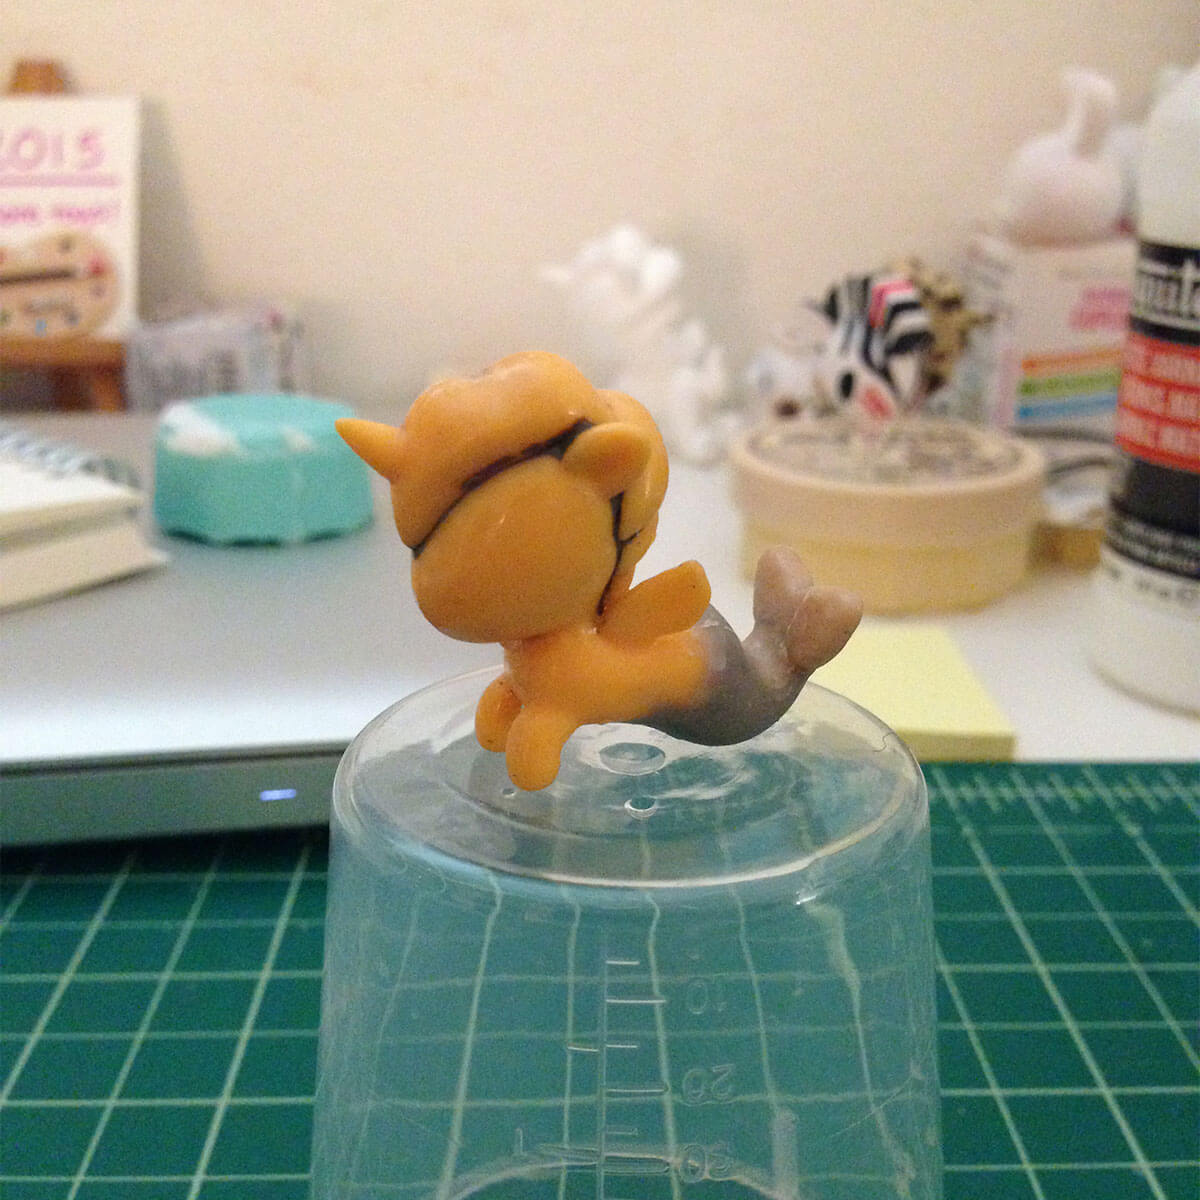
The first thing you will need to do is make sure your figure is clean and dust-free by washing it with soap and water. Once it is dry, spray some Ease Release on your figure and give it least 5 minutes to dry. This will keep the clay and silicone from sticking to it.
Next you need to determine how to your figure inside of the mold and where the pour holes for the resin will be. See Step 2 of my Two-Part Mold Tutorial for a more detailed explanation.
3. Make Mold Box
Next, you will need to make your mold box out of cardboard. You will need a base and 4 sides (no top). Your box doesn’t have to be square – it can be a triangle, pentagon, or even a circle!
When measuring the sides of your box, allow 3/4 – 1 inch of space all around your figure.
Put together the sides of your mold box with a hot glue gun, but leave the base out for now. I didn’t take photos of my box construction for my baby Aquacorn fiture. The following photo is from my Two-Part Mold tutorial and shows how much space I have around my sculpt.
4. Plant Figure
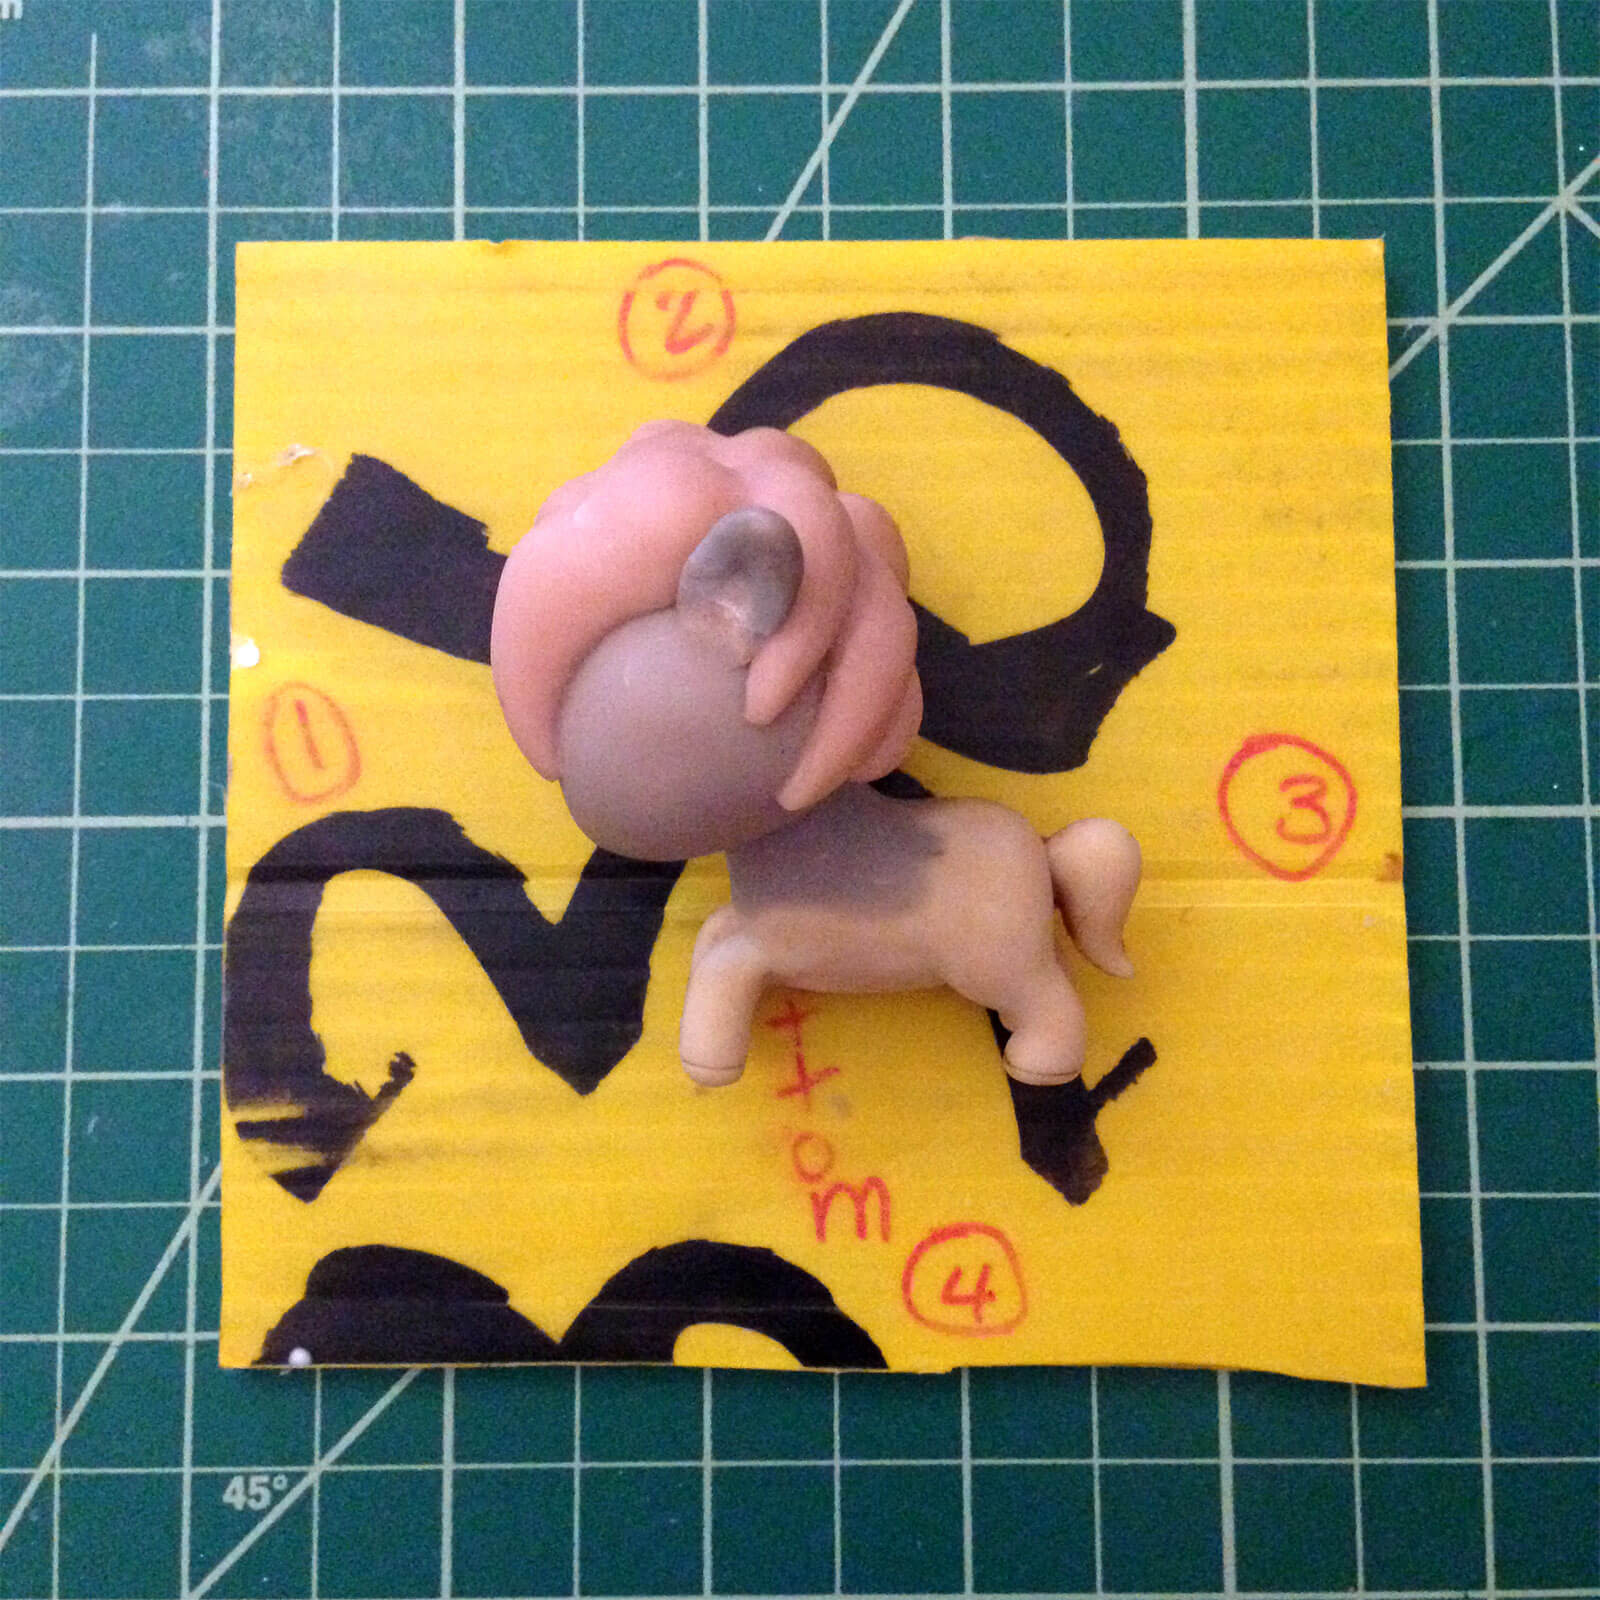
Using clay, plant your figure securely on the base of the mold box, elevating it 3/4-1 inch above the base. Remember how we planned your figure orientation in Step 2? When you are attaching your figure, remember where you are going to put your pour holes and how you will orient your figure. There are two ways to do this:
A) Ideally, the clay that you use to attach your figure will double as your pour holes. In this case, the clay attachment pieces should be funnel shaped. When you are done placing your figure on the base of the box, attach the rest of the box around it using the glue gun. However in some cases this is not possible – maybe your figure is too heavy or unbalanced to stay elevated on clay funnels. If this is your case, you will use method B.
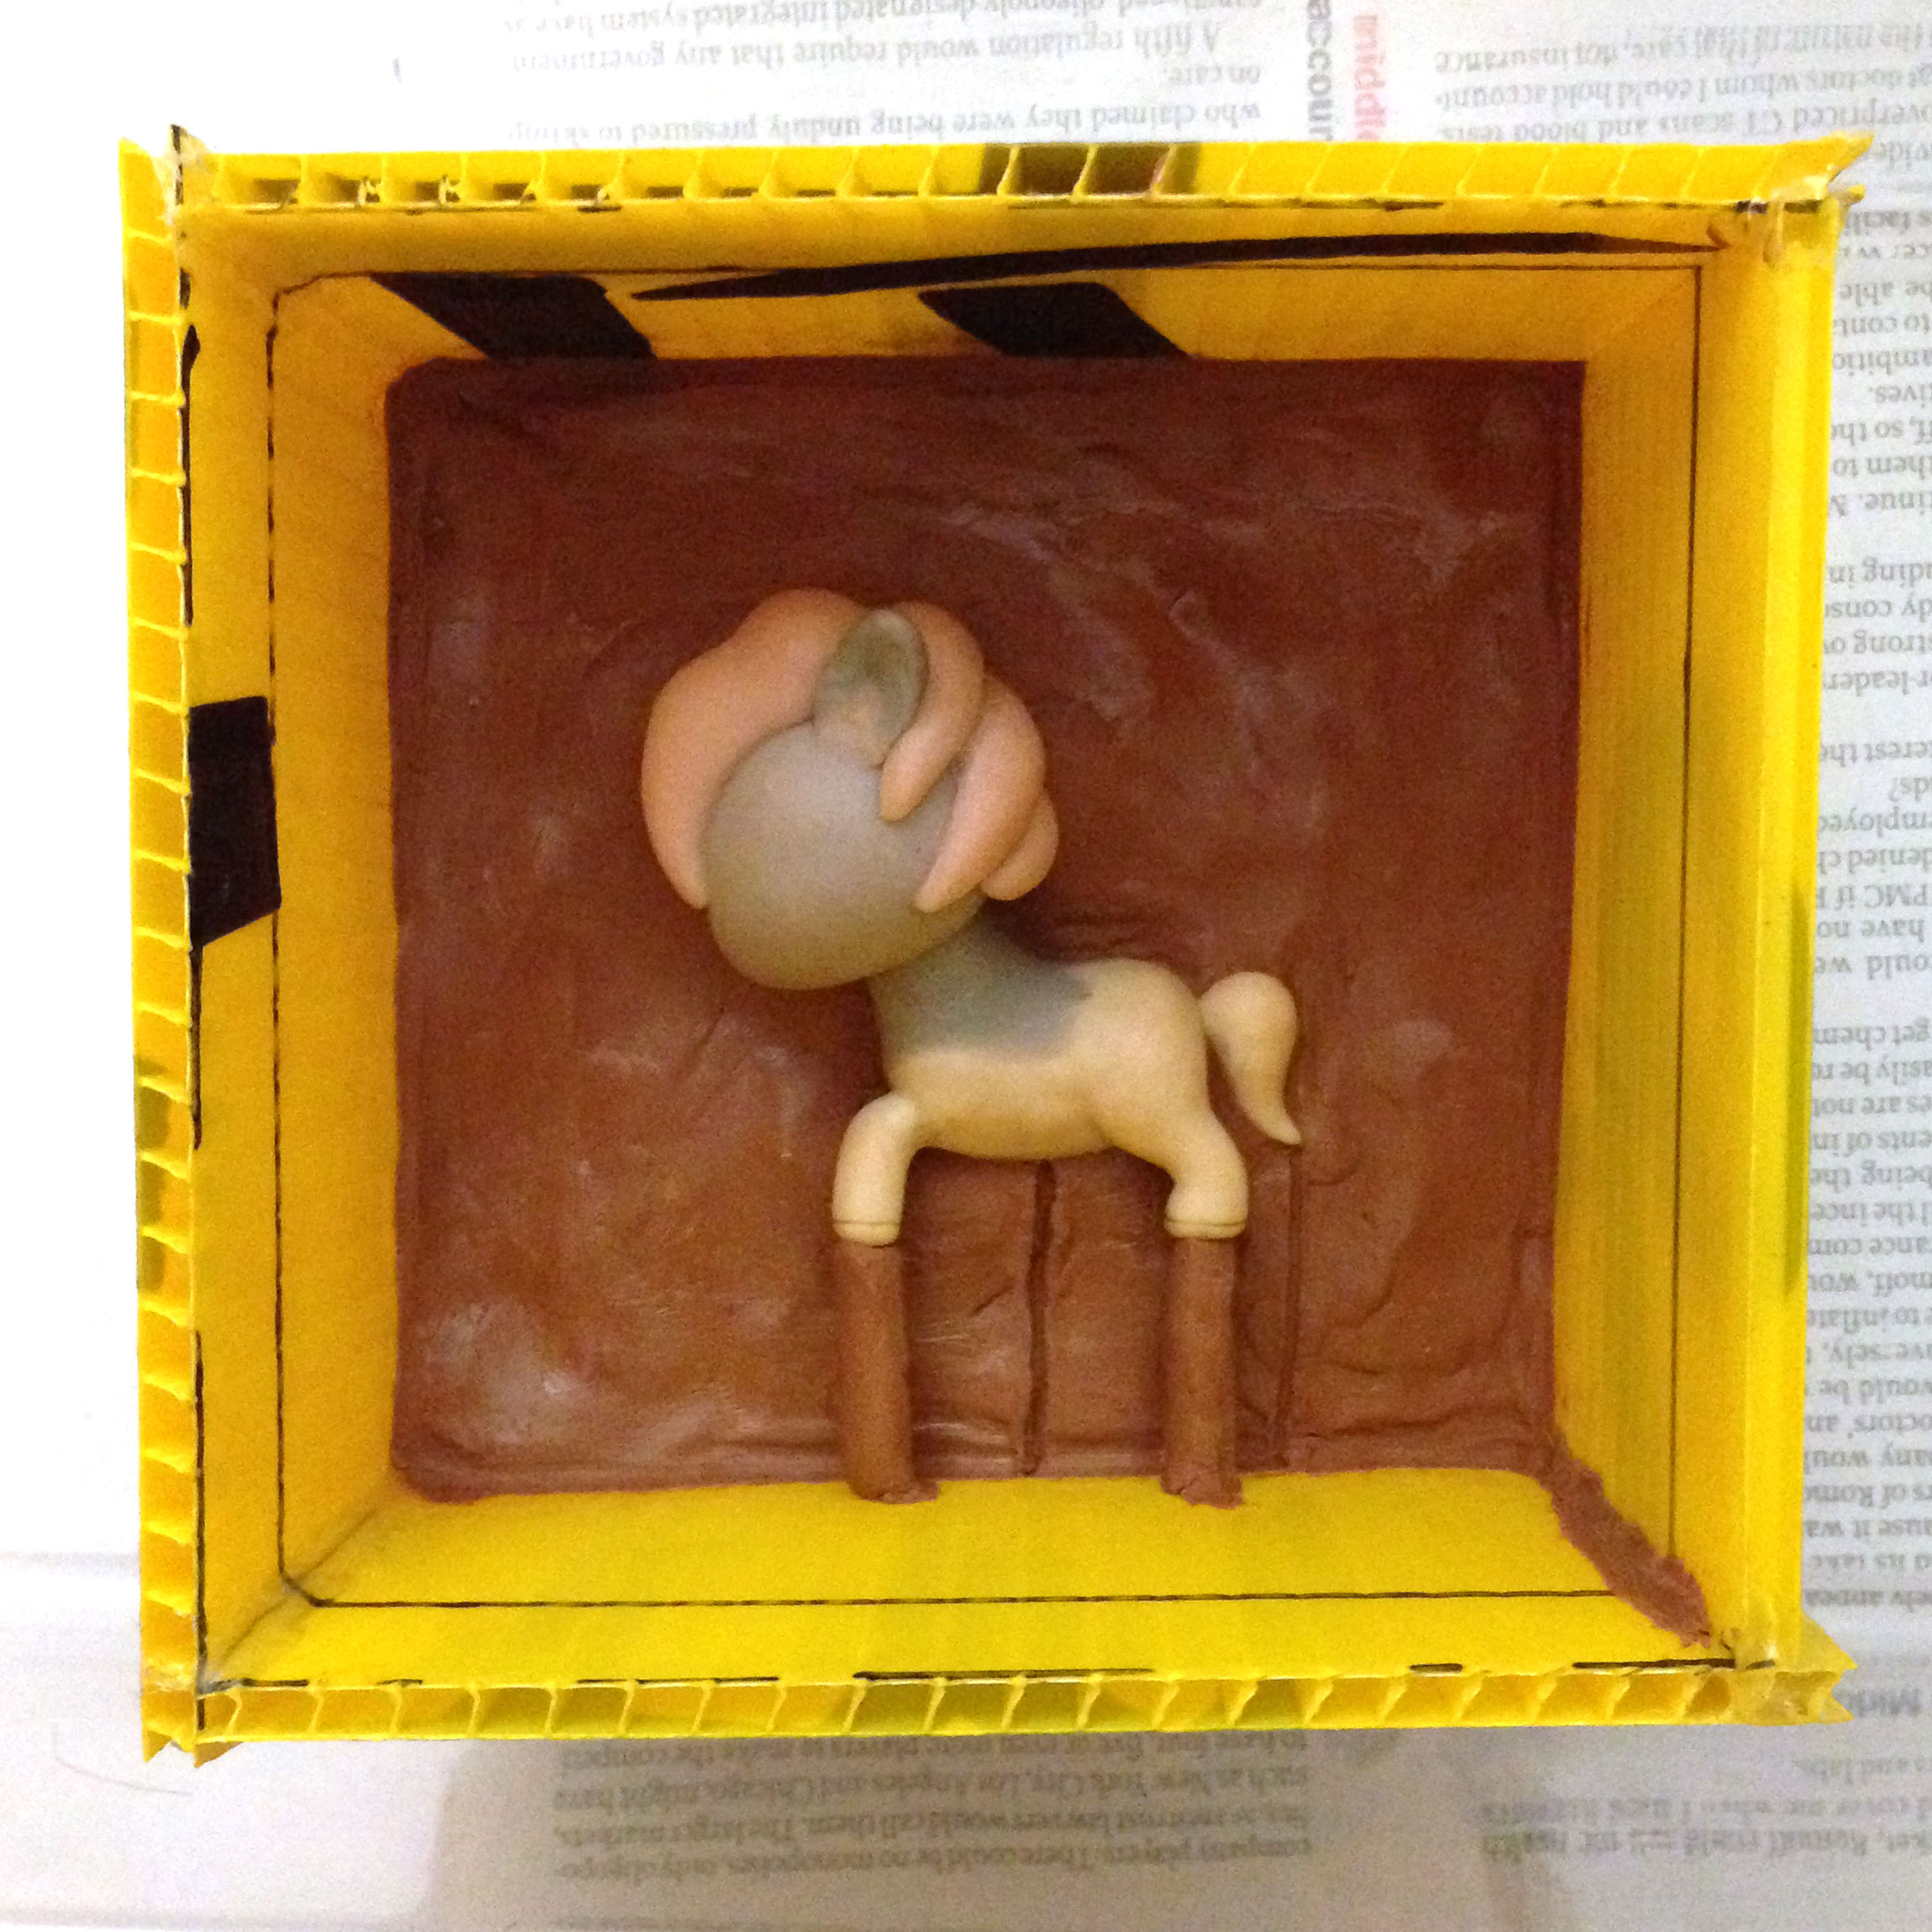
B) Follow the instructions outlined in Step 4 of my Two-Part Mold Tutorial with one exception: there’s no need to add keys all around the clay.
I didn’t take any photos of Method A (sorry!) but here’s an example photo from my two-part mold tutorial of Method B.
5. Pour Silicone
Mix equal parts A and B of your silicone and pour the mixture into your mold box. See “Pouring Tips” for the best way to pour silicone.
Once you have poured all of the silicone from the first cup, just make another batch and pour again. As long as you get all your pouring done within the “pot life” time indicated on your silicone package, you’re fine. If at any time you notice a leak in your mold, stop pouring and plug up the leak with a chunk of clay.
Keep making batches and pouring until you have completely covered your figure.
If you had to build up your mold like a two-part mold, follow these steps once the silicone has cured:
- Flip your mold over and carefully remove the base without tearing the sides of the box.
- Remove all clay and tin foil that you used to build up your mold.
- If required, add clay sprues or pour holes.
- Pour more silicone to fill up the second half of your mold.
Pouring Tips
- Pick the lowest corner of your box, and only pour from that spot. Pouring all over will only result in trapped air.
- Avoid pouring directly on top of your figure. Again, this could trap air. Just pour in one corner of the box and let the silicone slowly fill up.
- Pour in thin streams from a height (at least a couple feet above your mold box). Most air bubbles that formed while mixing will pop on the way down if you do this. It will take a while and your arms will get tired, but have patience!
6. Cut and Demold
Here comes the funnest but also the most nerve-wracking part. This is where I realized that I messed up and forgot to spray Ease Release on my two-part mold, making it effectively a one-part mold.
Now remove the box from around your cured silicone.
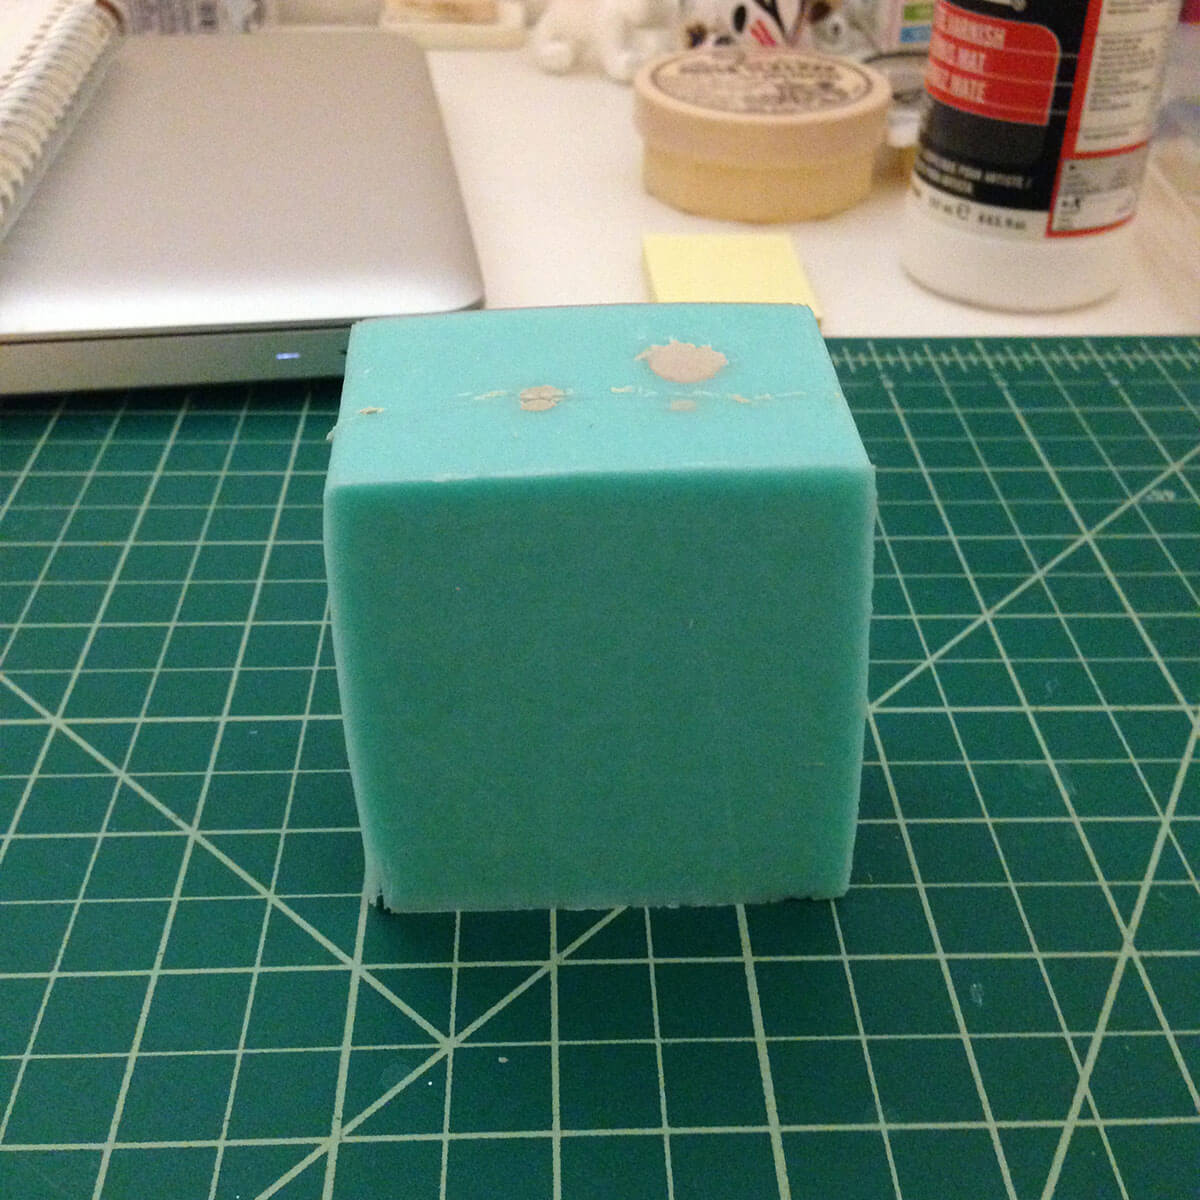
Using a sharp blade (I used an xacto knife), make a wavy or zigzag cut around 3 sides of your mold. The zigzags will help your cut mold match up again when you close it. DO NOT cut all the way through to your figure at this point. The depth of the wavy cut should be about halfway between the outer edge of the mold and your figure.
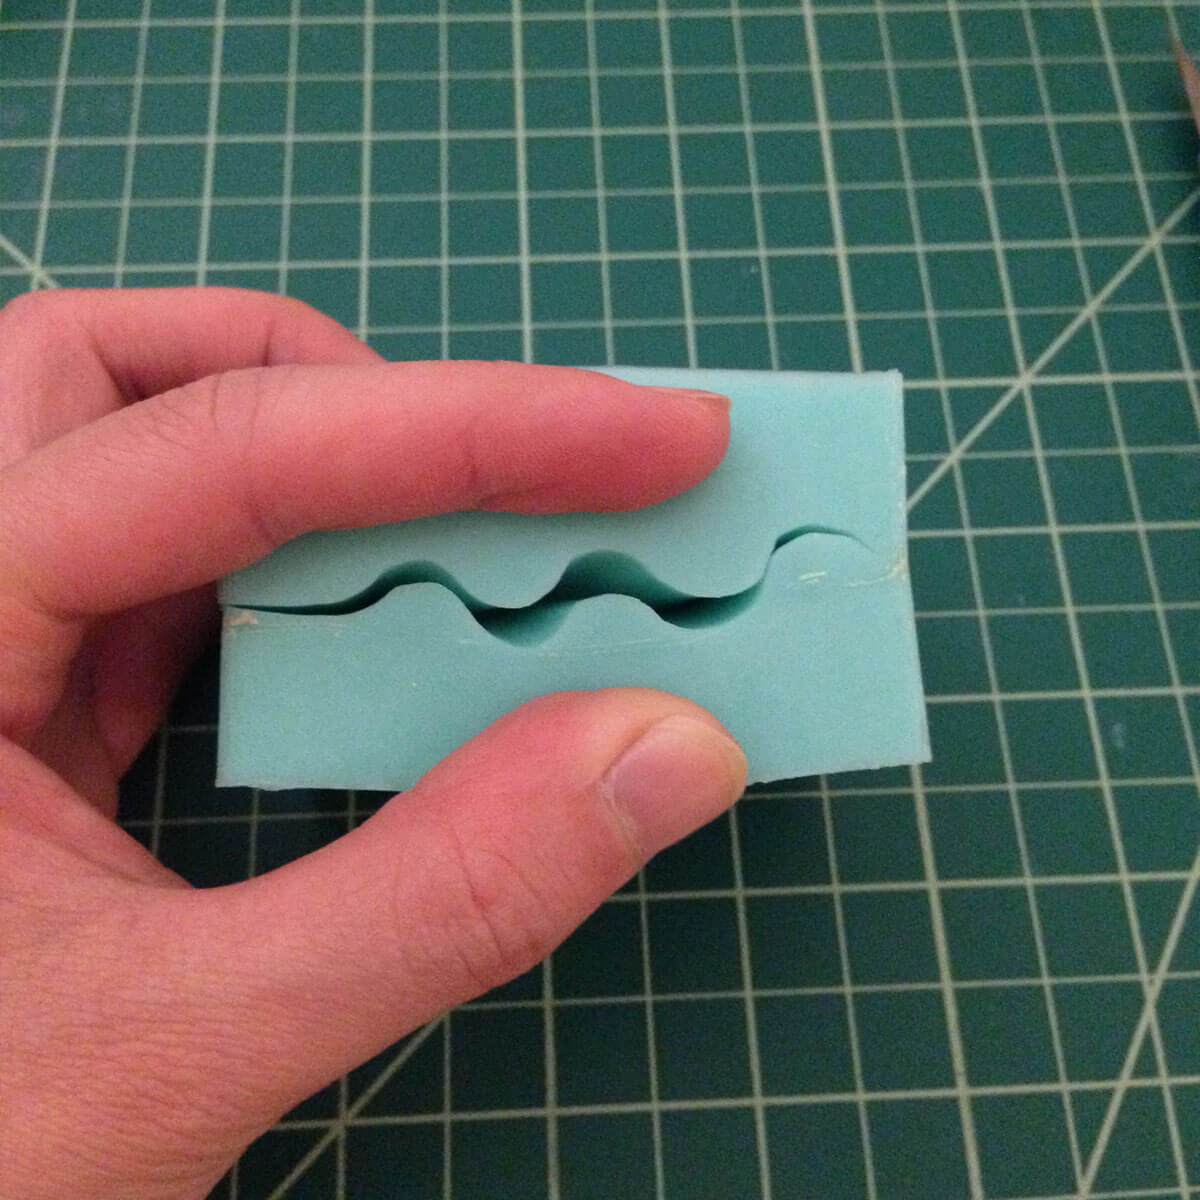
Spread the mold apart with your fingers and following the wavy line, make a straight cut all the way through to your figure. Try to make a continuous cut around your figure.
To avoid injury, cut away from your body, never towards!
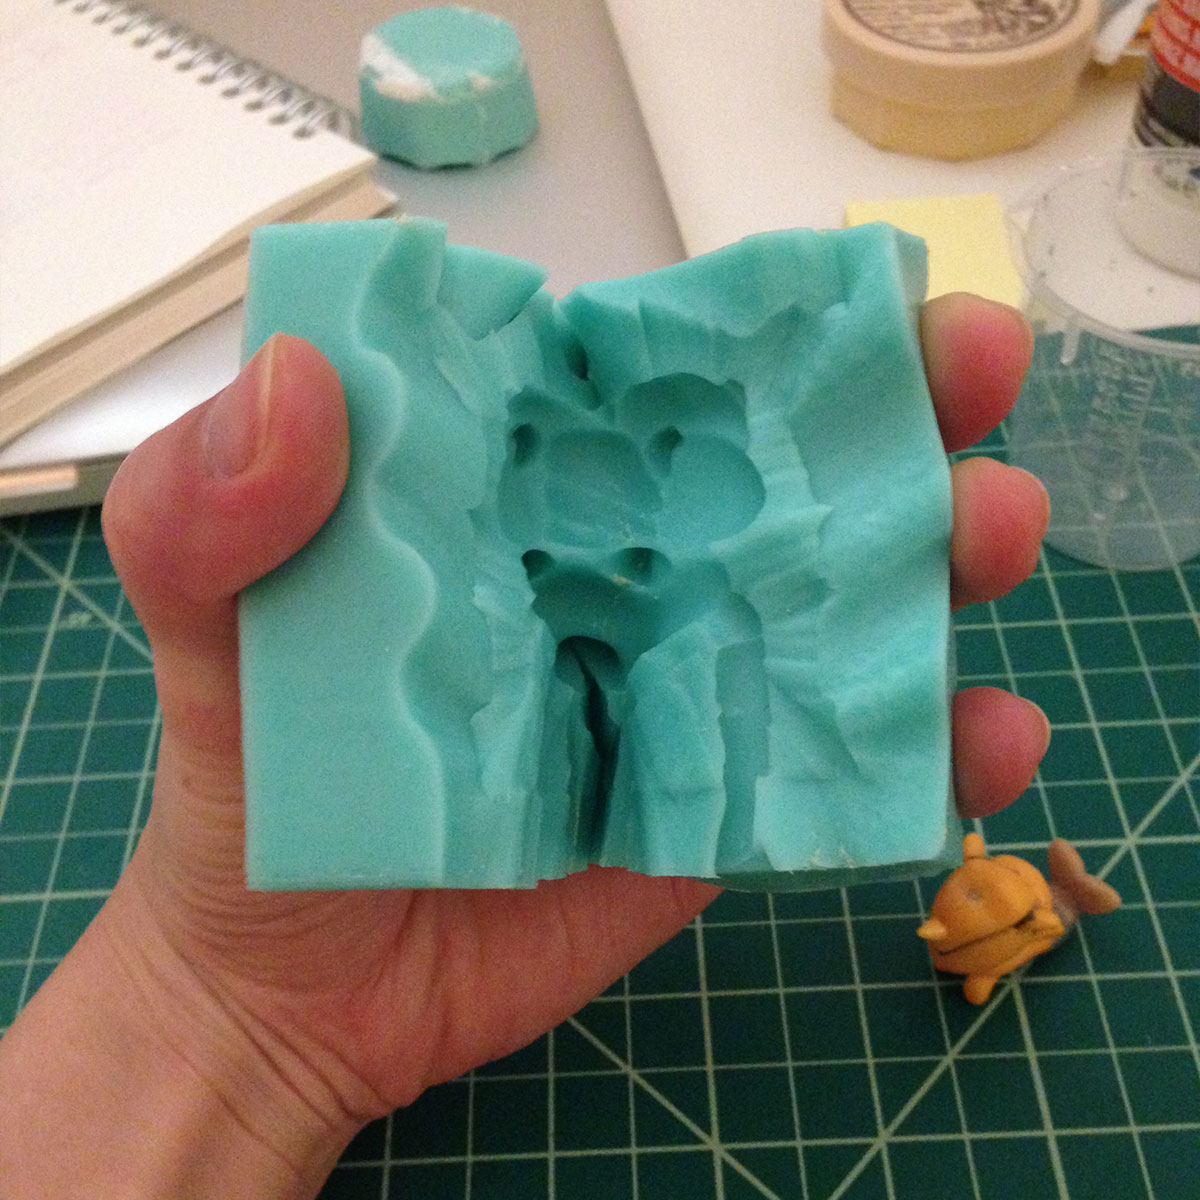
Voila! You now have a one-part mold! To use your mold, follow my Resin Casting Tutorial.