Overview
- Materials
- Make Your Palette
- Storage
Introduction
Hi everyone! This is a very short tutorial on how to make a stay-wet palette to help your painting process. Some artists keep many jars of special colors that they mix, but I actually enjoy the process of physically mixing and mushing the paint together. I think that it’s really soothing – like squishing a ball of play-doh. Plus, sometimes I find really great color combinations by playing with the colors on my palette. If you are like me, having a stay-wet palette will help save paint and keep your palette good for at least a couple more days! Making your own stay-wet palette is inexpensive and can be made using common household items.
1. Materials
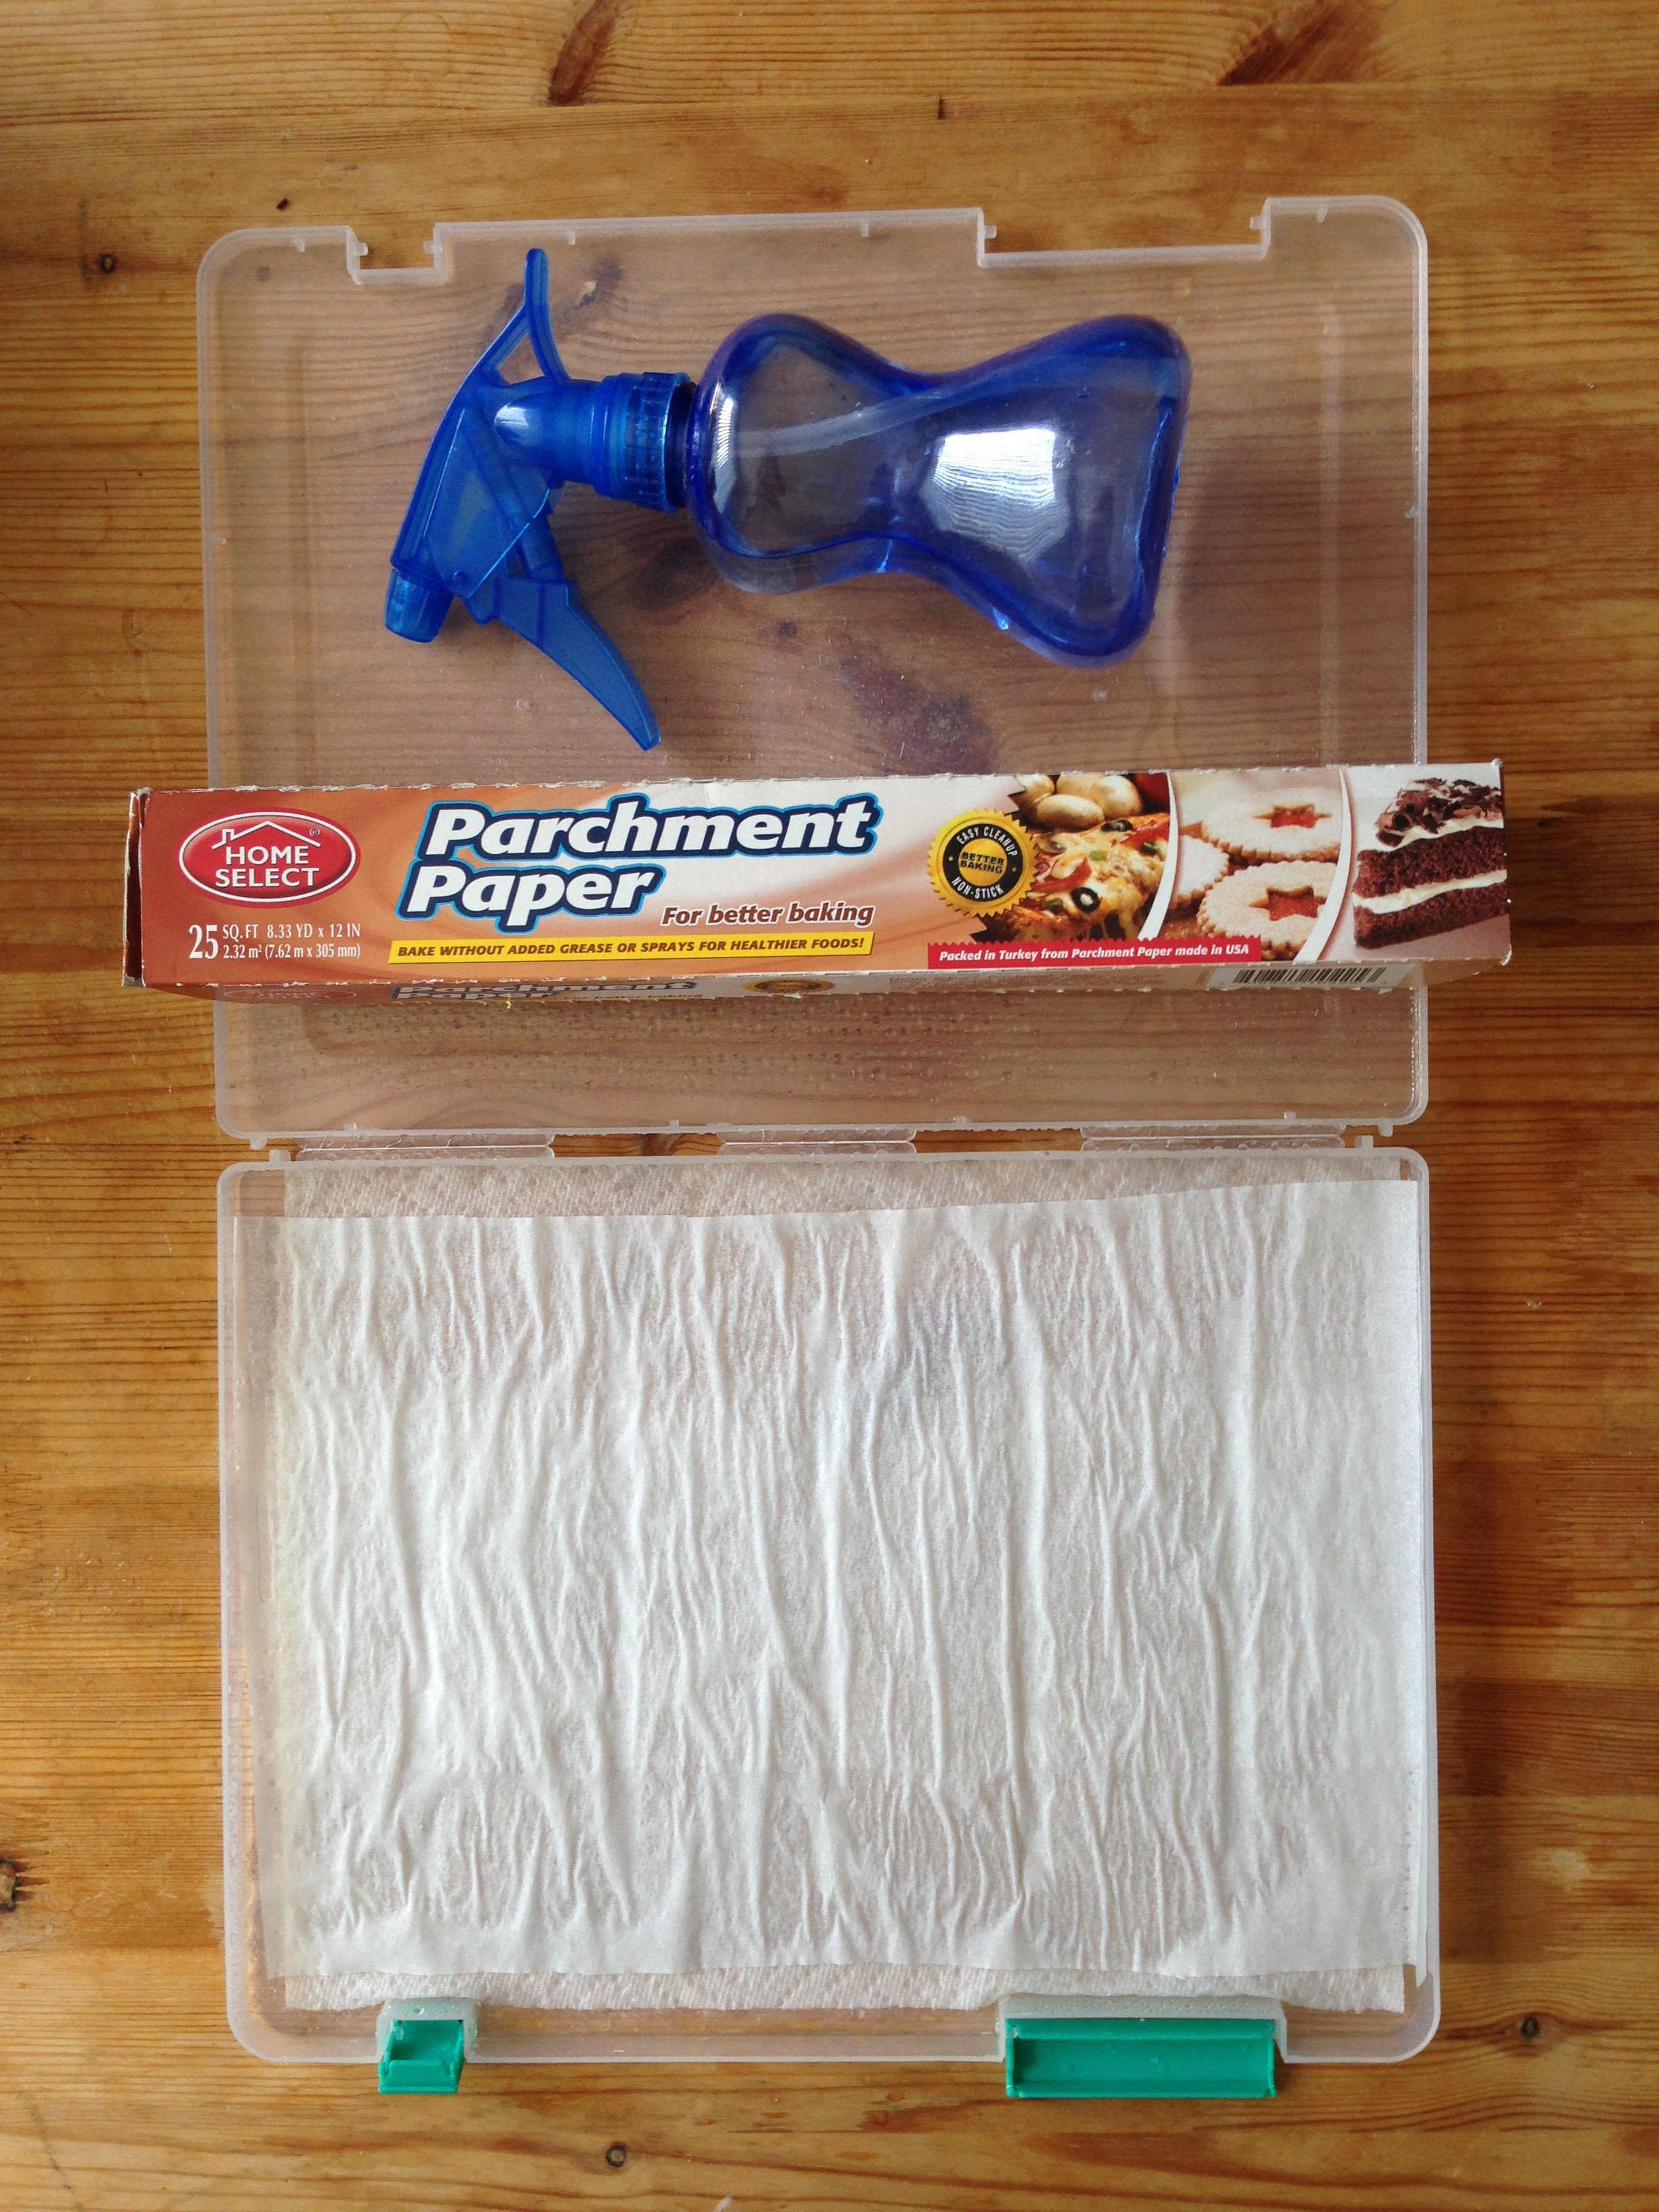
- Container
- Paper towels
- Water
- Spray bottle (optional)
- Parchment paper
Details about materials:
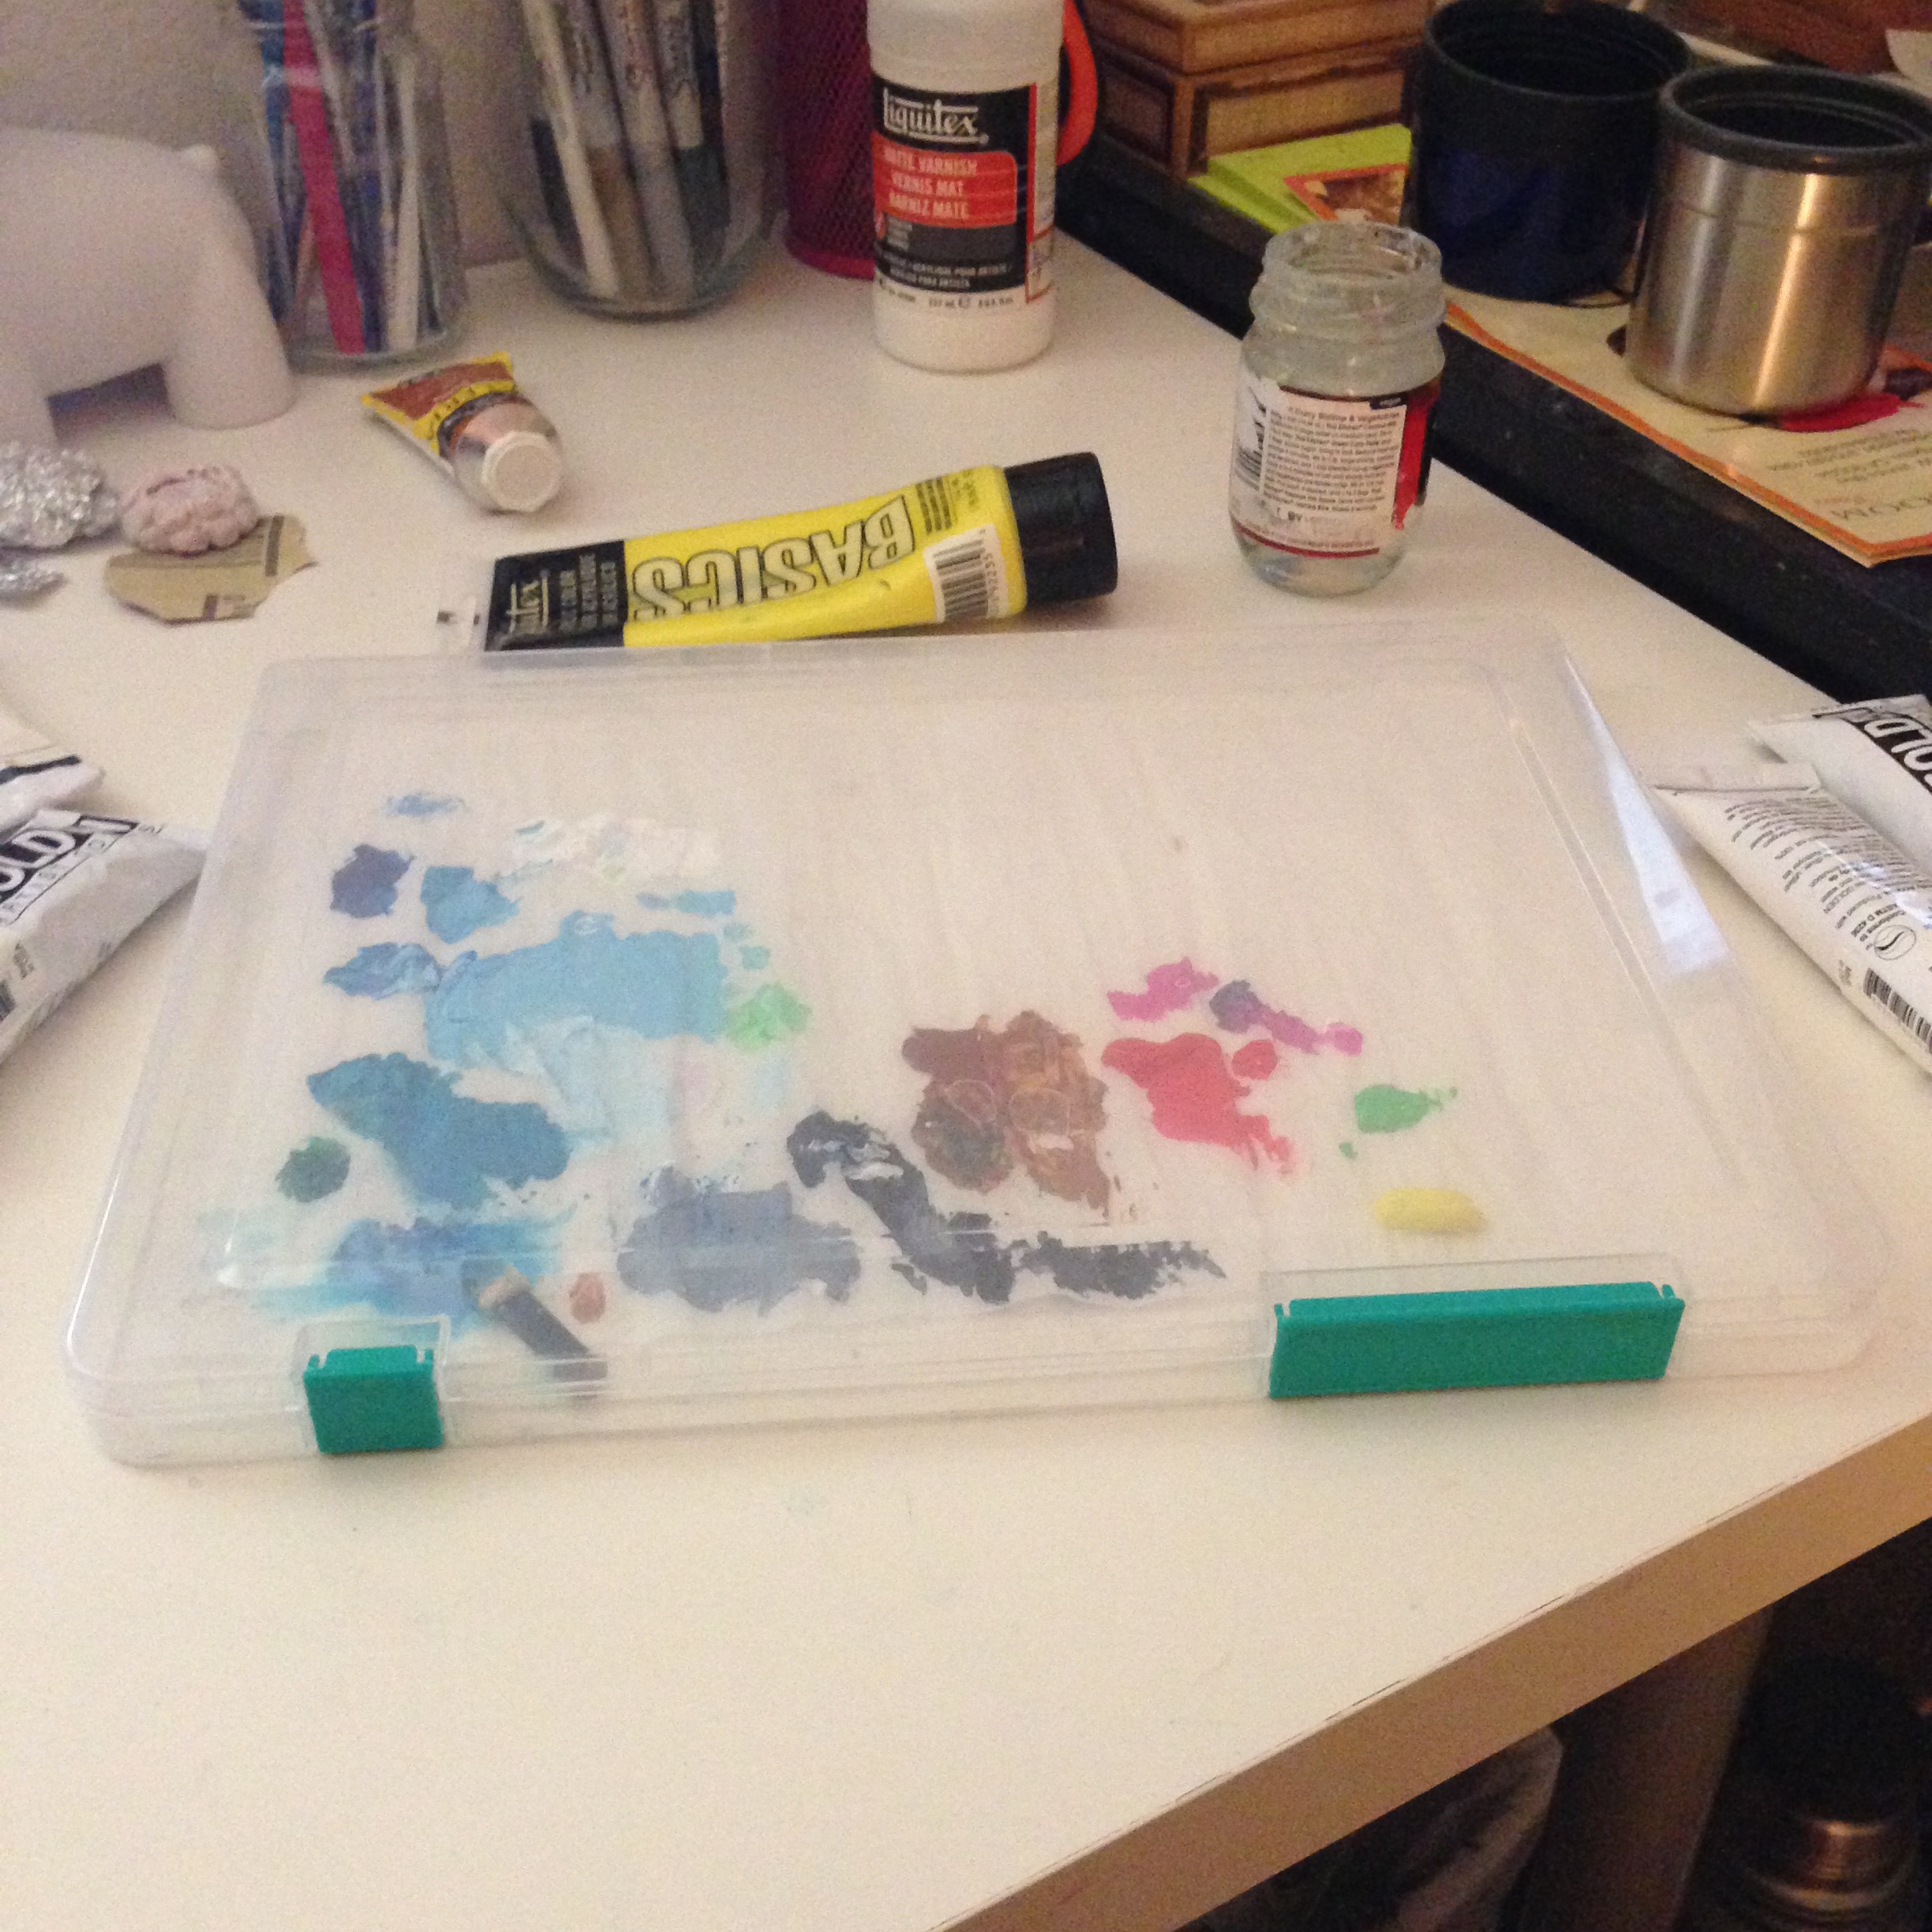
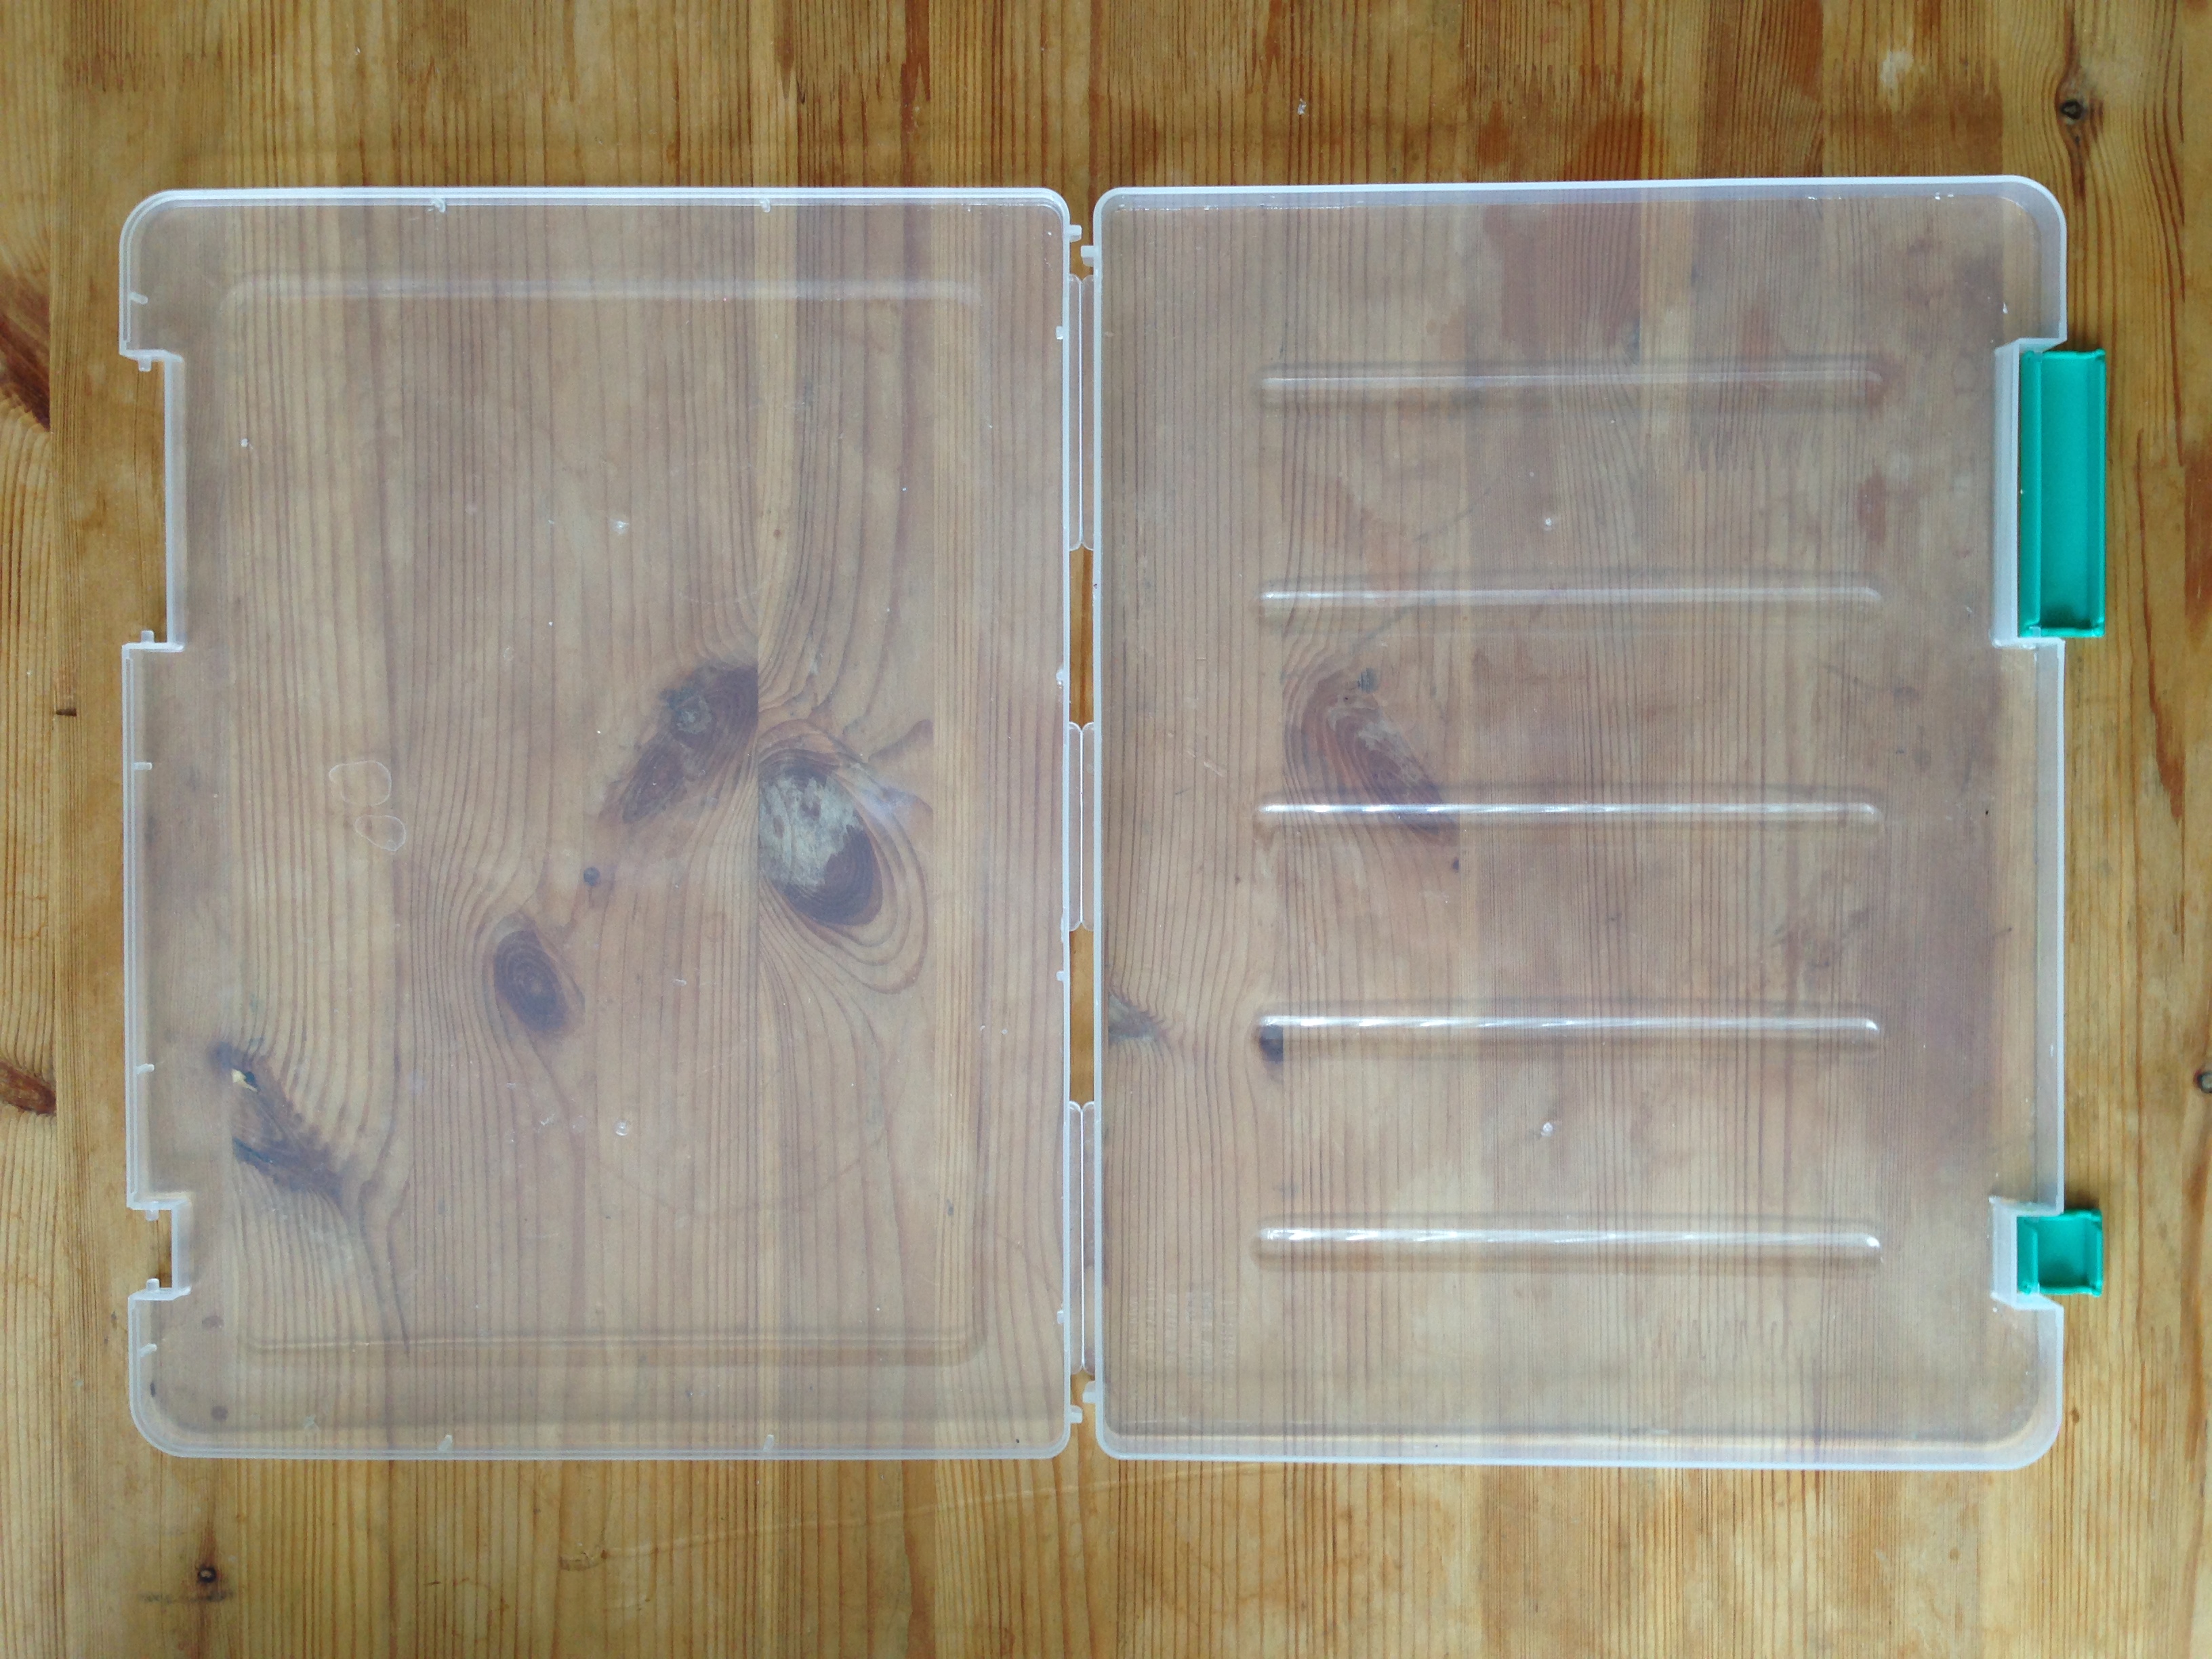
Container
It’s best to use an airtight container to keep a moist environment for the paint. Choose a size that you are comfortable mixing paint in. A flat food storage container would be great. I am currently using a plastic file/folder case that I got from Daiso because I like the shape. Unfortunately it’s not airtight so my paint dries out in a couple of days, but I usually don’t spend more than two days painting a project anyways. Not to worry – I do plan to upgrade soon!
Paper Towels
These will be soaked in water to produce a humid environment for your palette. You can use a chamois or sponge, but paper towels are usually the most economical option. I know some people use sponges, but that might make your surface a little too soft to mix your colors on. I like a hard surface to push my paint around on.
You will need to change the paper towels once in a while or else it will start to smell. I know this from personal experience because I was too lazy to change the towels for a while. It’s gross, but now you know. Don’t be lazy like I was!
Parchment Paper
This is what your paint will go on. Parchment paper is really cheap and comes in rolls that you can rip/cut to whatever size you want. If you didn’t know already, they are found in the baking aisle or next to the aluminum foil in grocery stores. Don’t confuse it with wax paper. As for substitute materials, I haven’t used regular printer paper in my stay-wet palette so I can’t say if that would work better or worse.
2. Make Your Palette
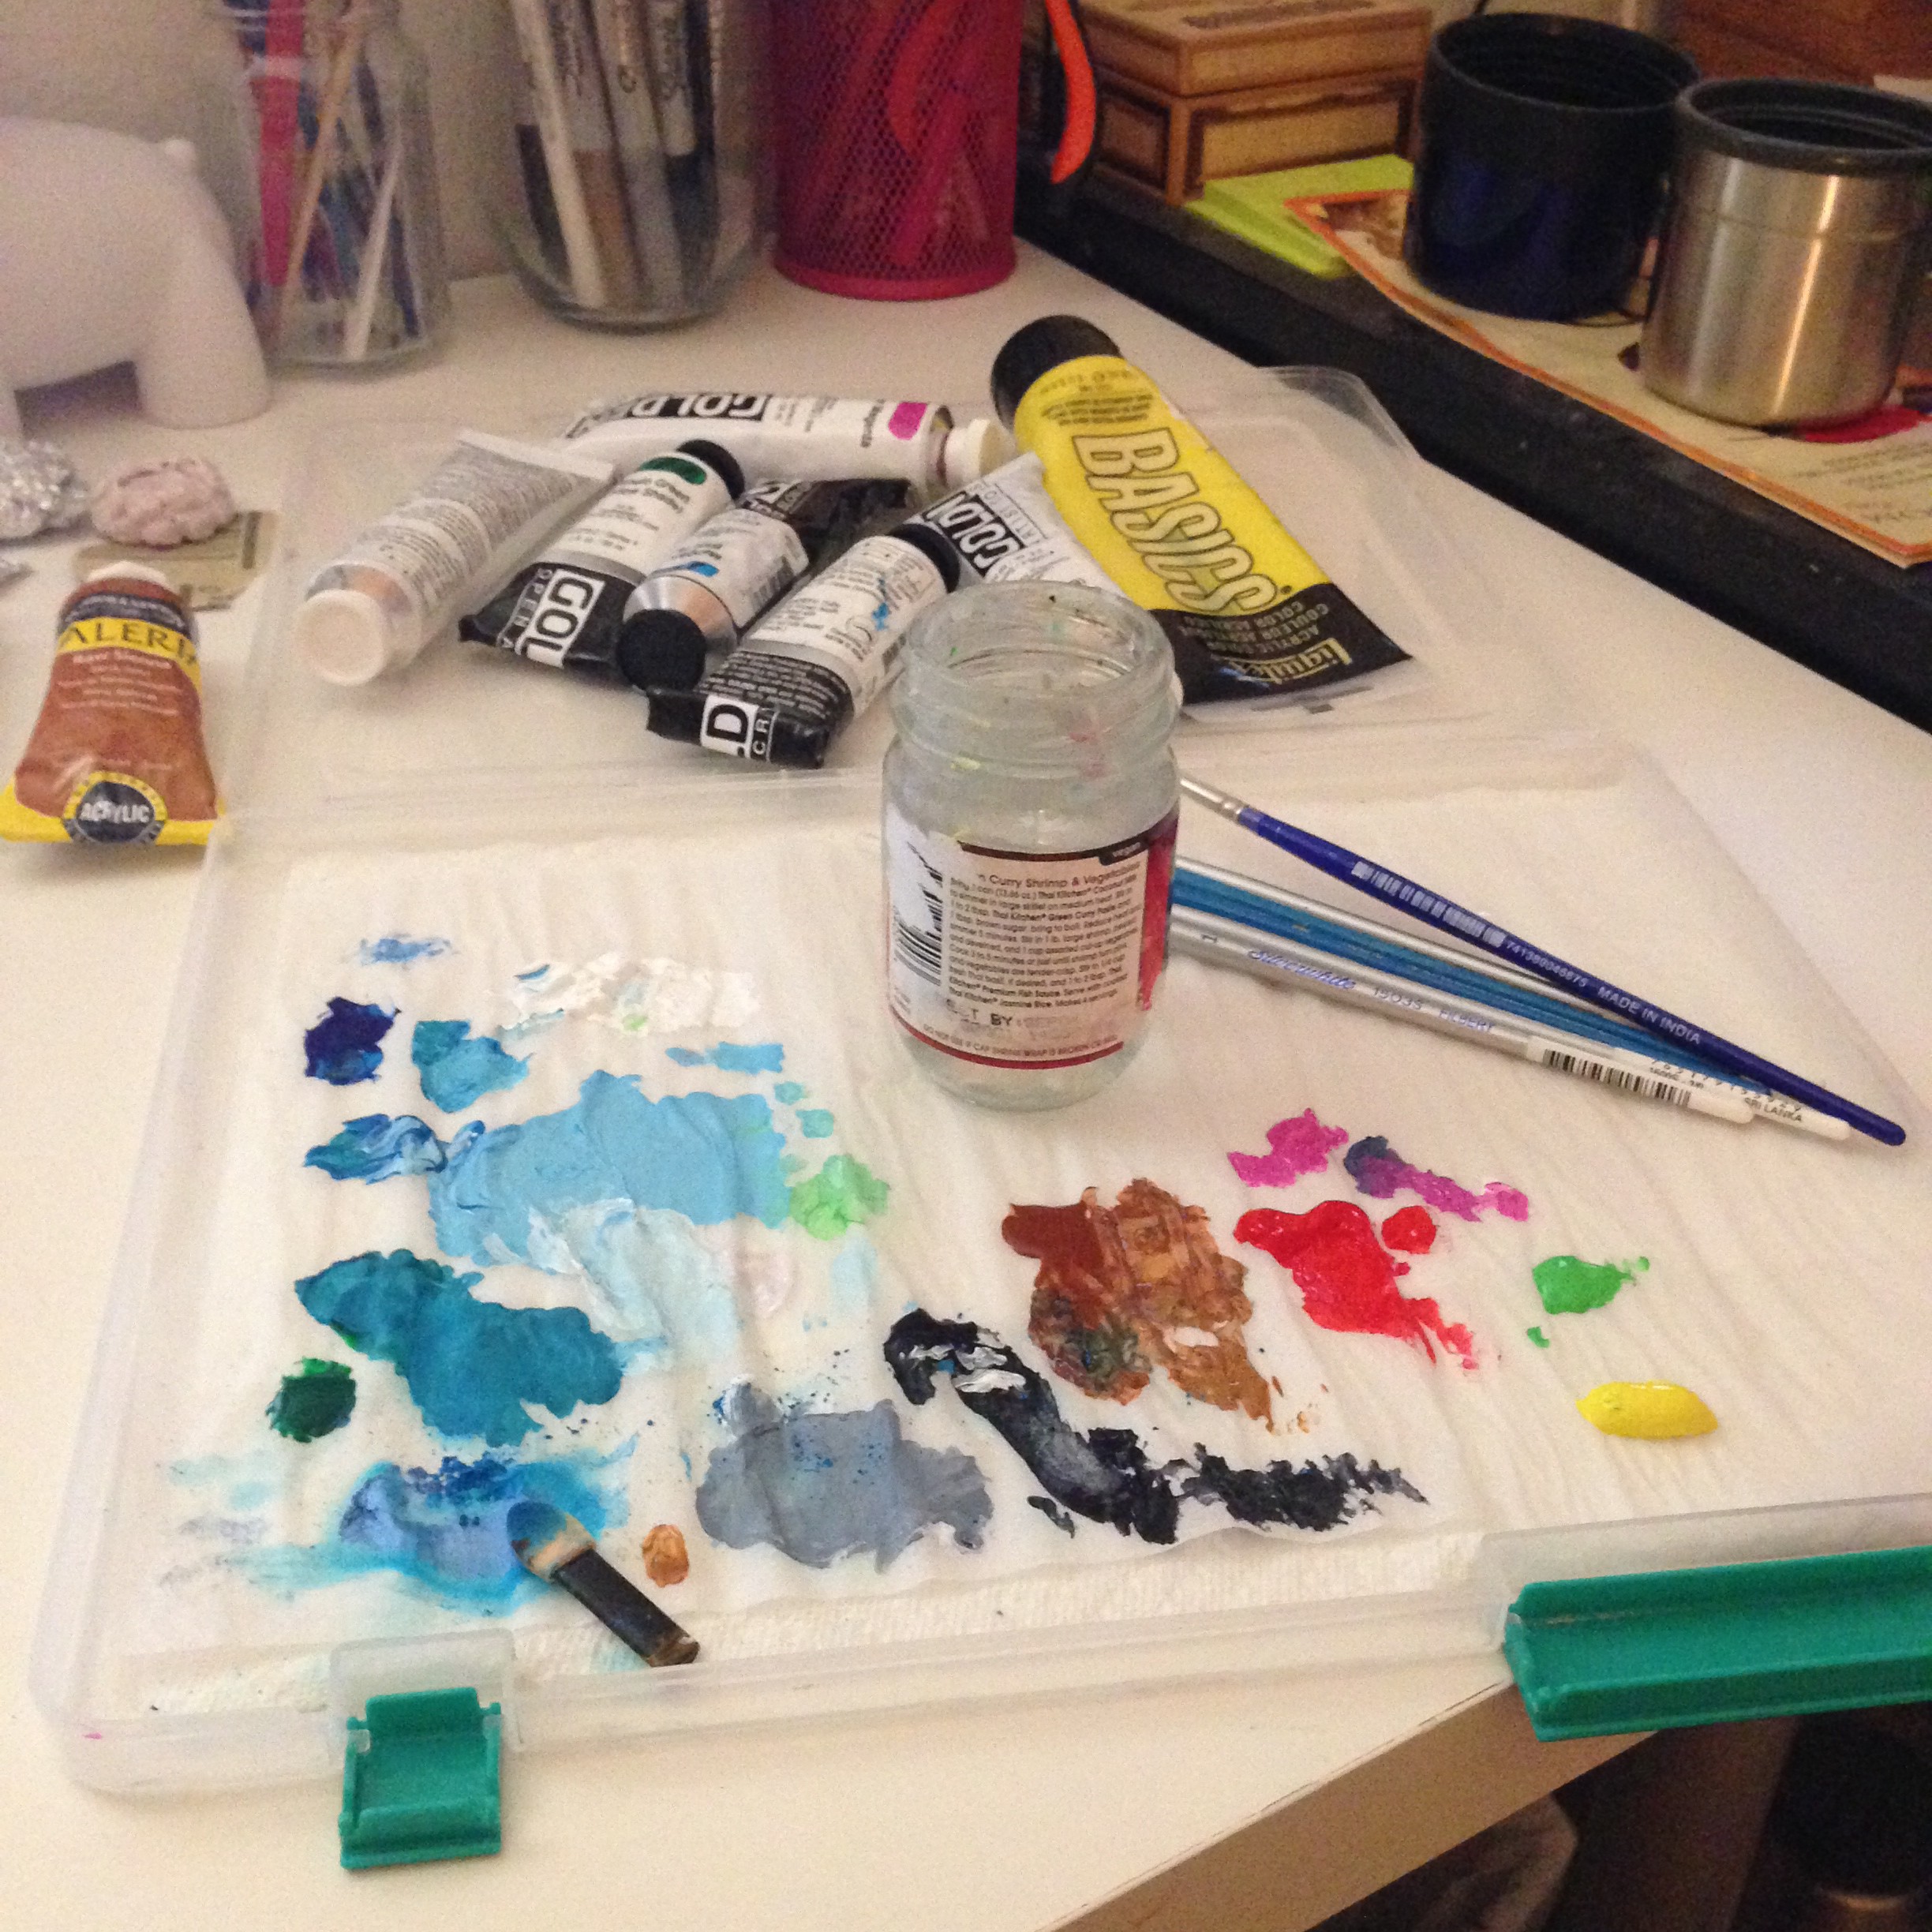
Lay down a couple layers of paper towels at the bottom of your container.
Spray the paper towels with water and get them really soaked. I also use a spray bottle to re-wet my paint if it starts to get a little dry during as I’m painting. If you don’t have a spray bottle, you can just pour some water using a cup.
Cut or rip a piece of parchment paper that will fit in your container, and lay it on top of the wet paper towels. You’re now ready to squeeze some colors on it and start painting! You can even layer pieces of parchment paper on top of one another if you want to have different palettes going on at the same time. To access a palette that is underneath another layer, just fold over the overlying layer on top of itself.
2. Section
When you are done with your palette for the day, close the container and store away from sunlight. I live in the hot/dry climate of Southern California so sometimes the paper towels start drying up before I’m finished. To keep my paint moist for longer, I lift up my colored-on parchment paper and spray the paper towels with some more water before I close the lid.
That’s all folks! I hope this helps you in your future projects!